


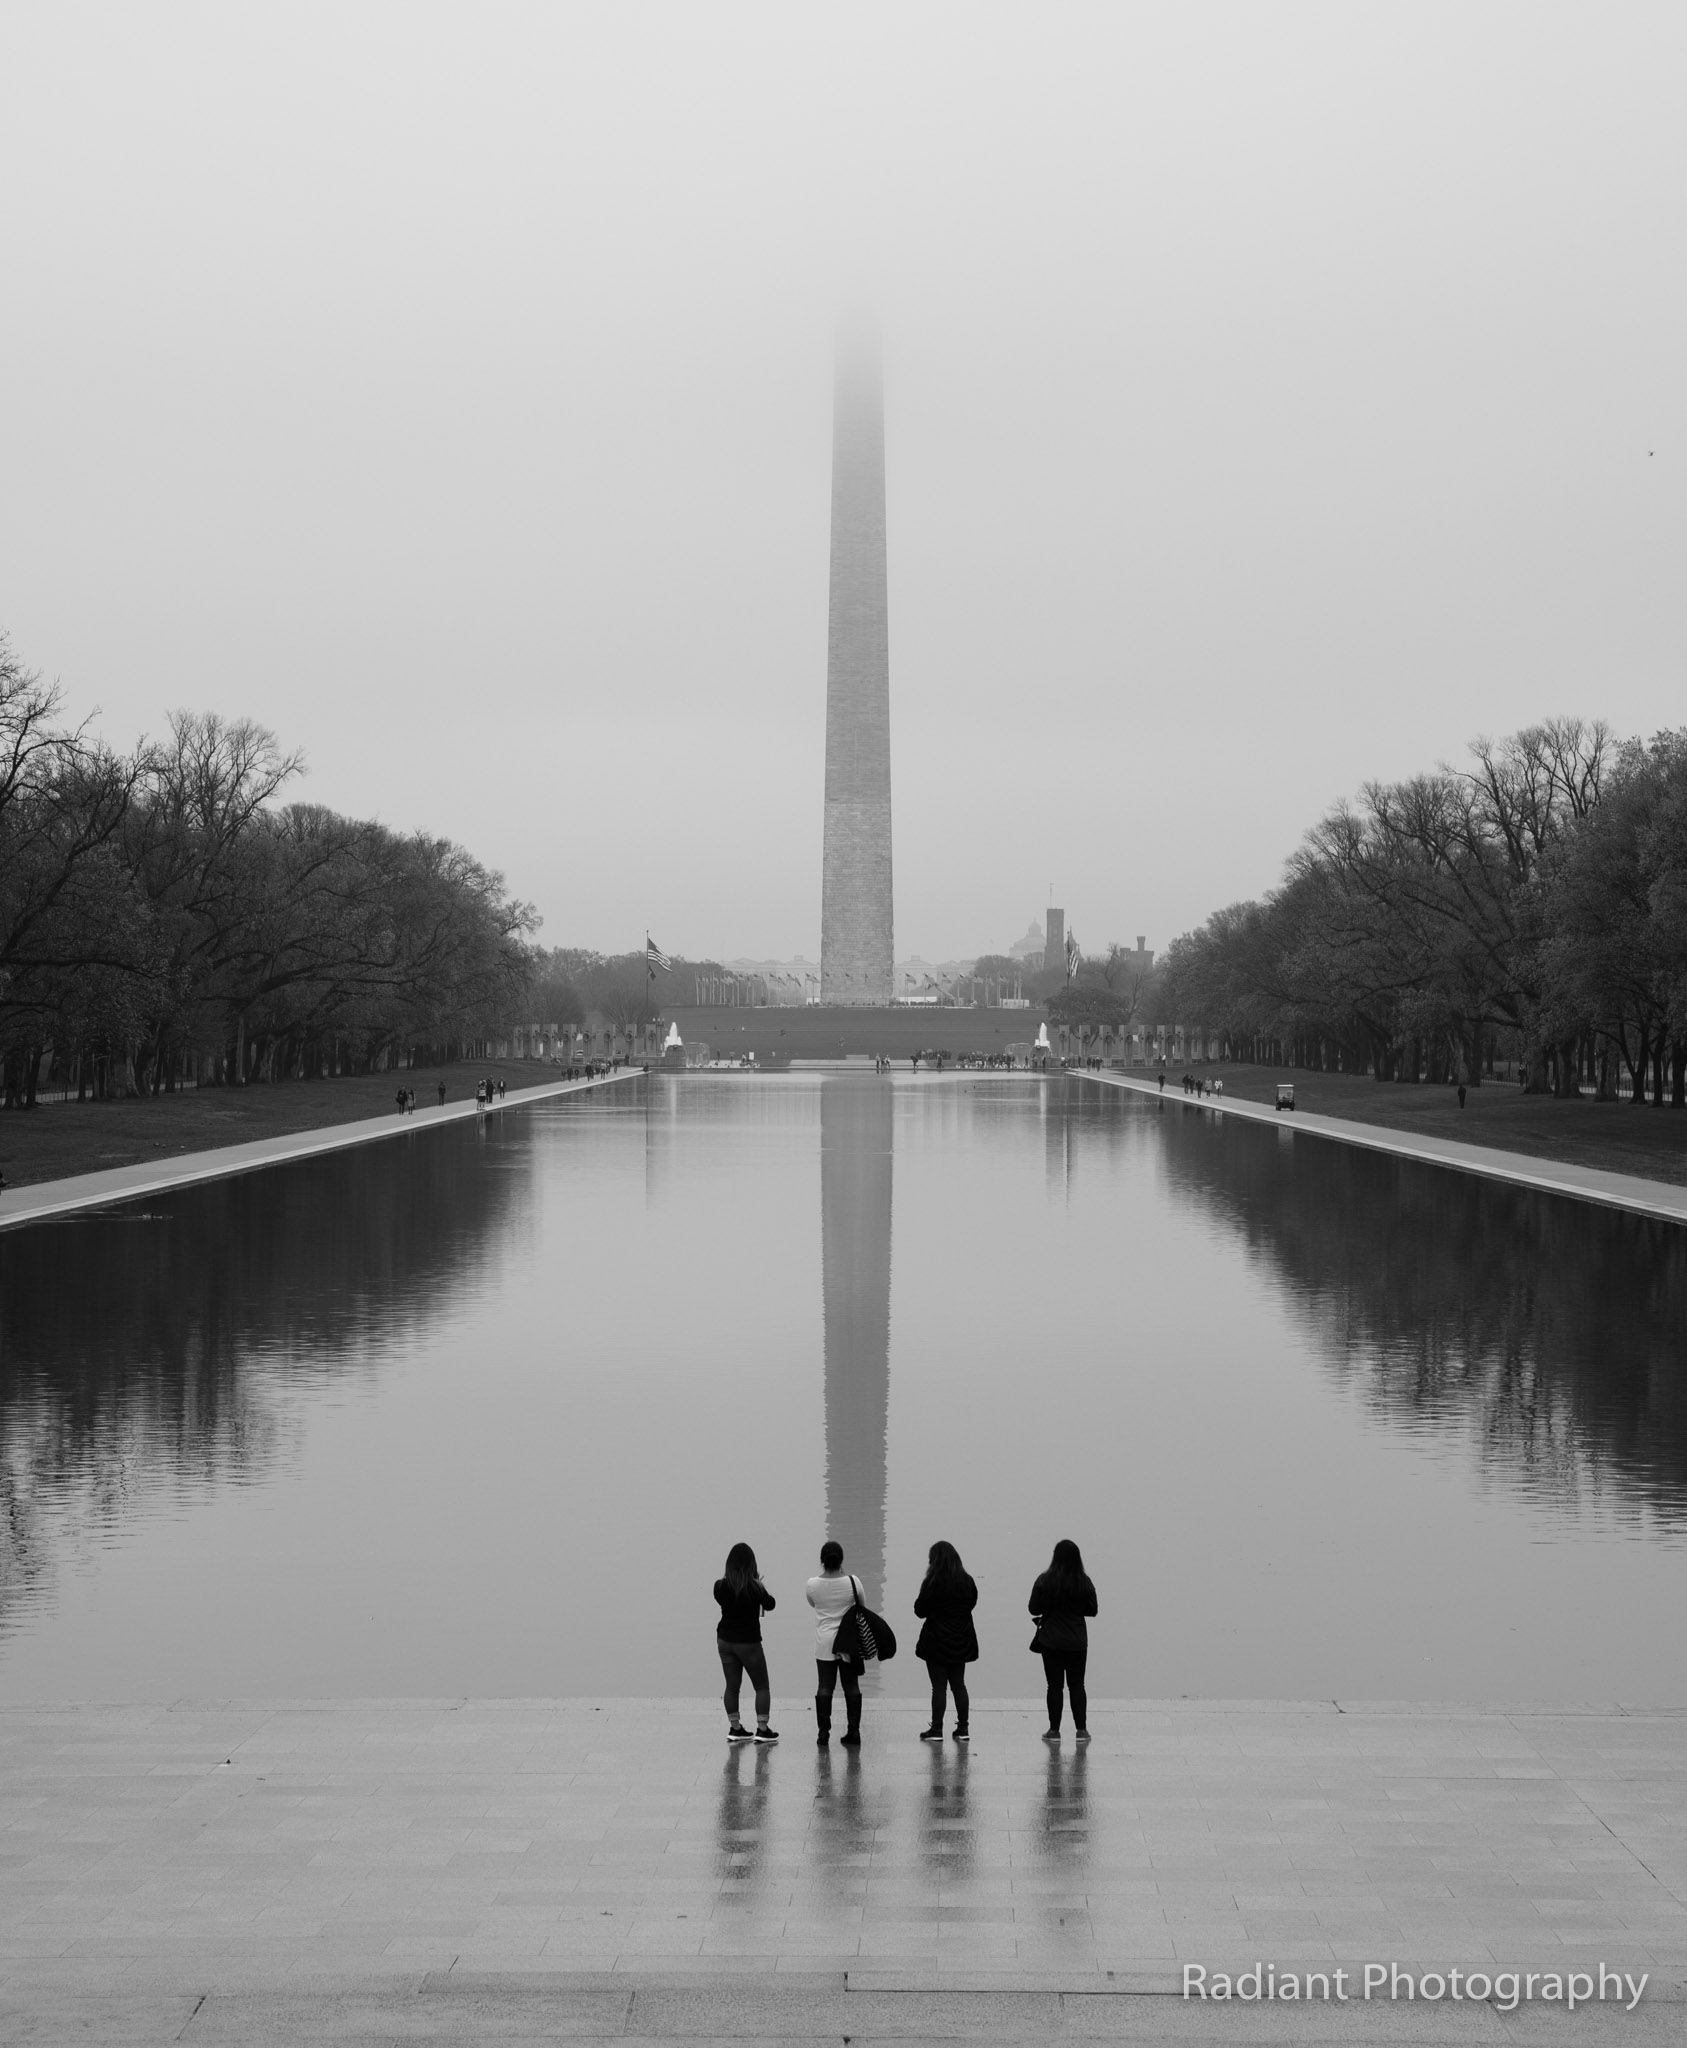
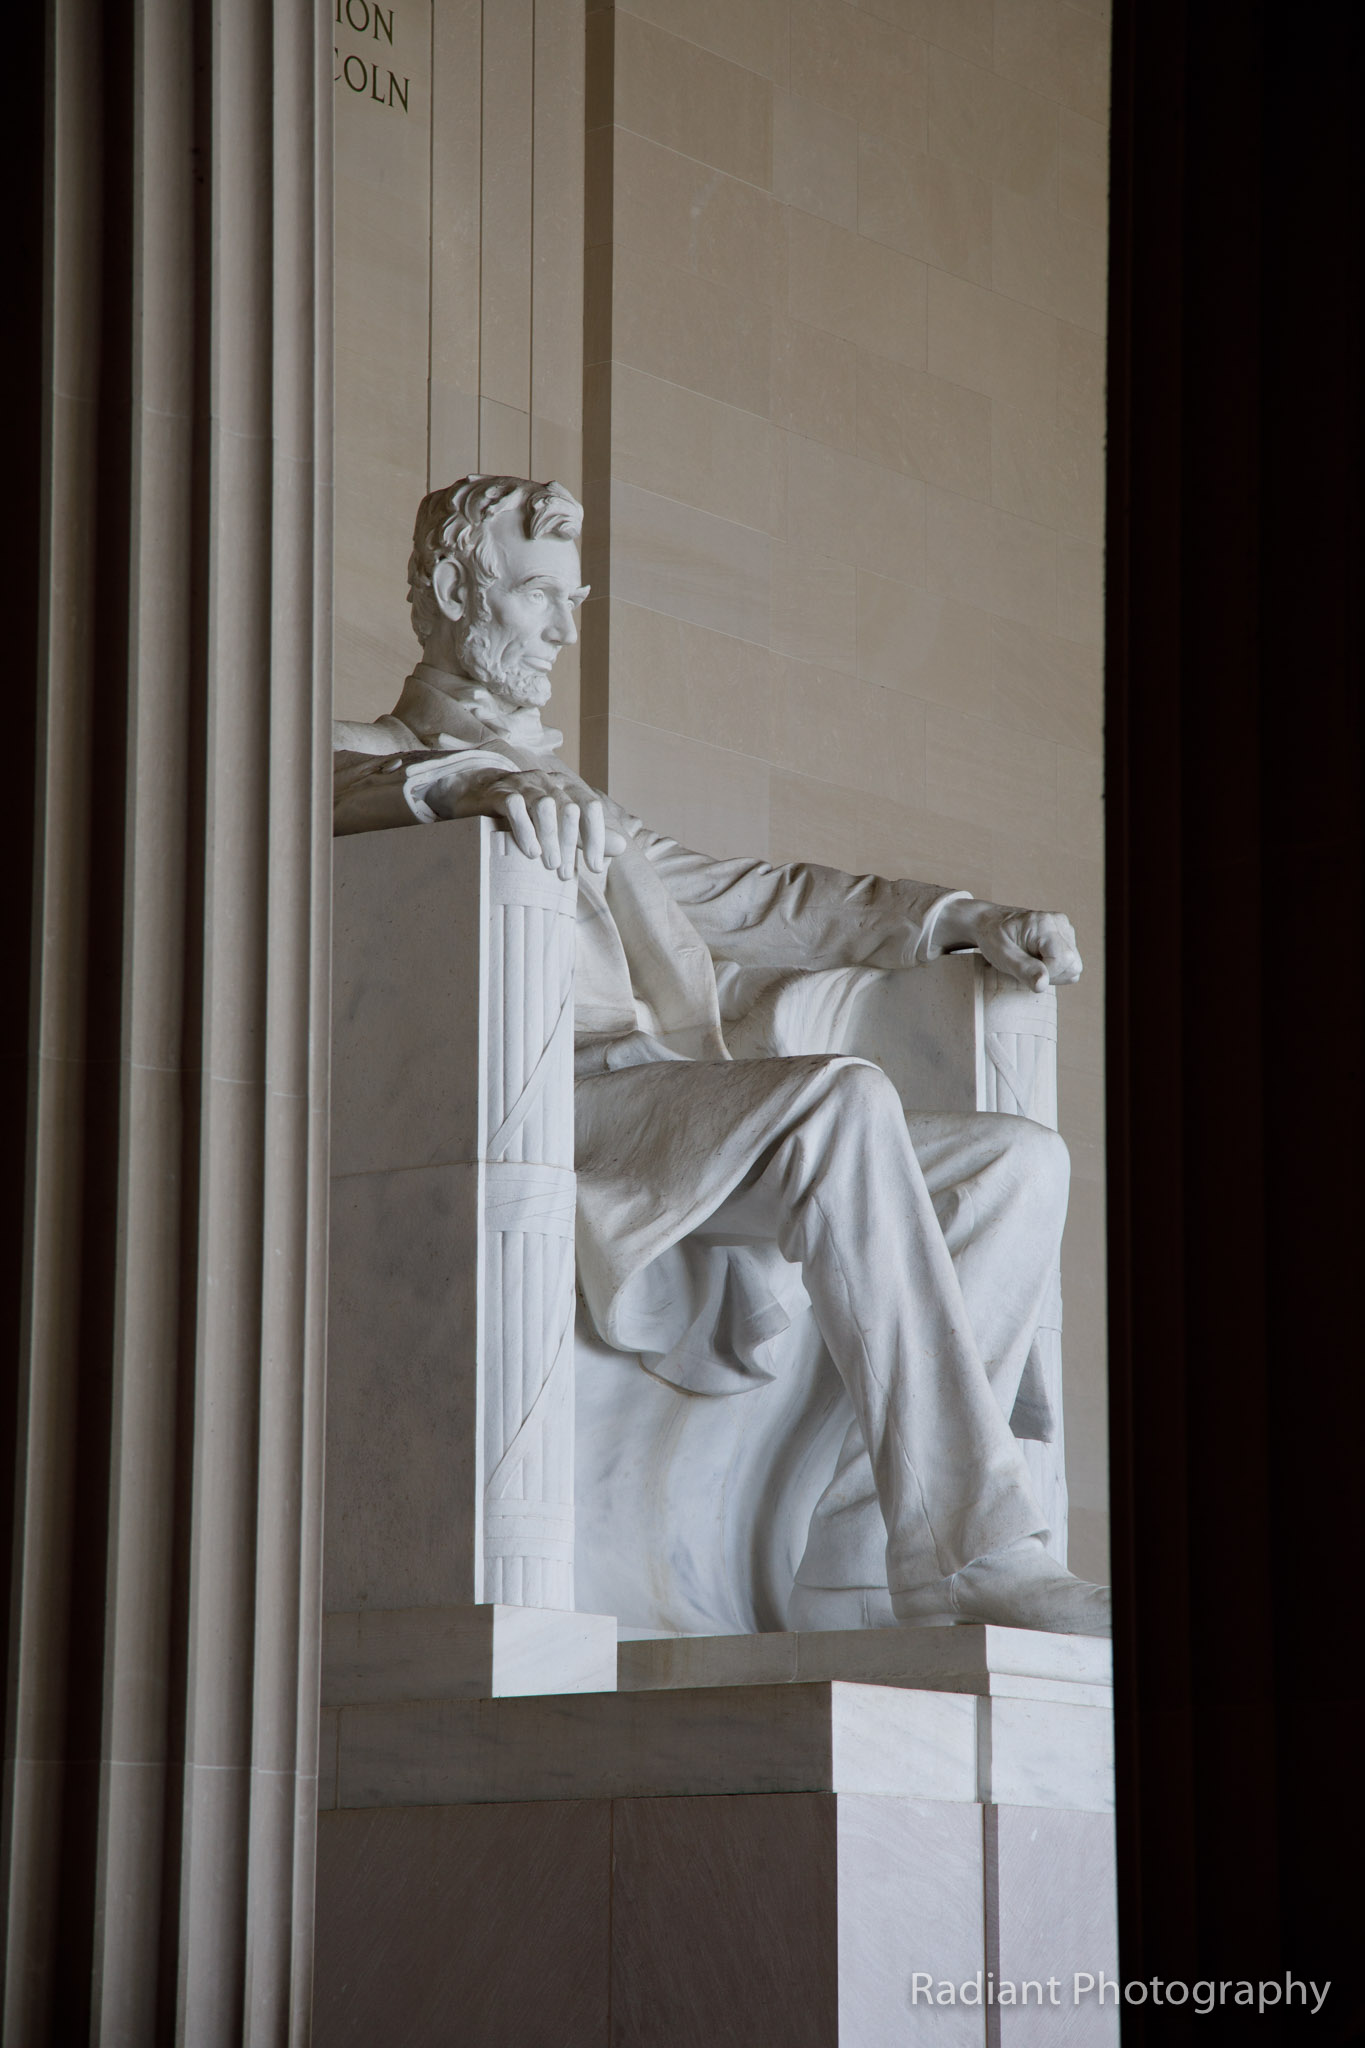
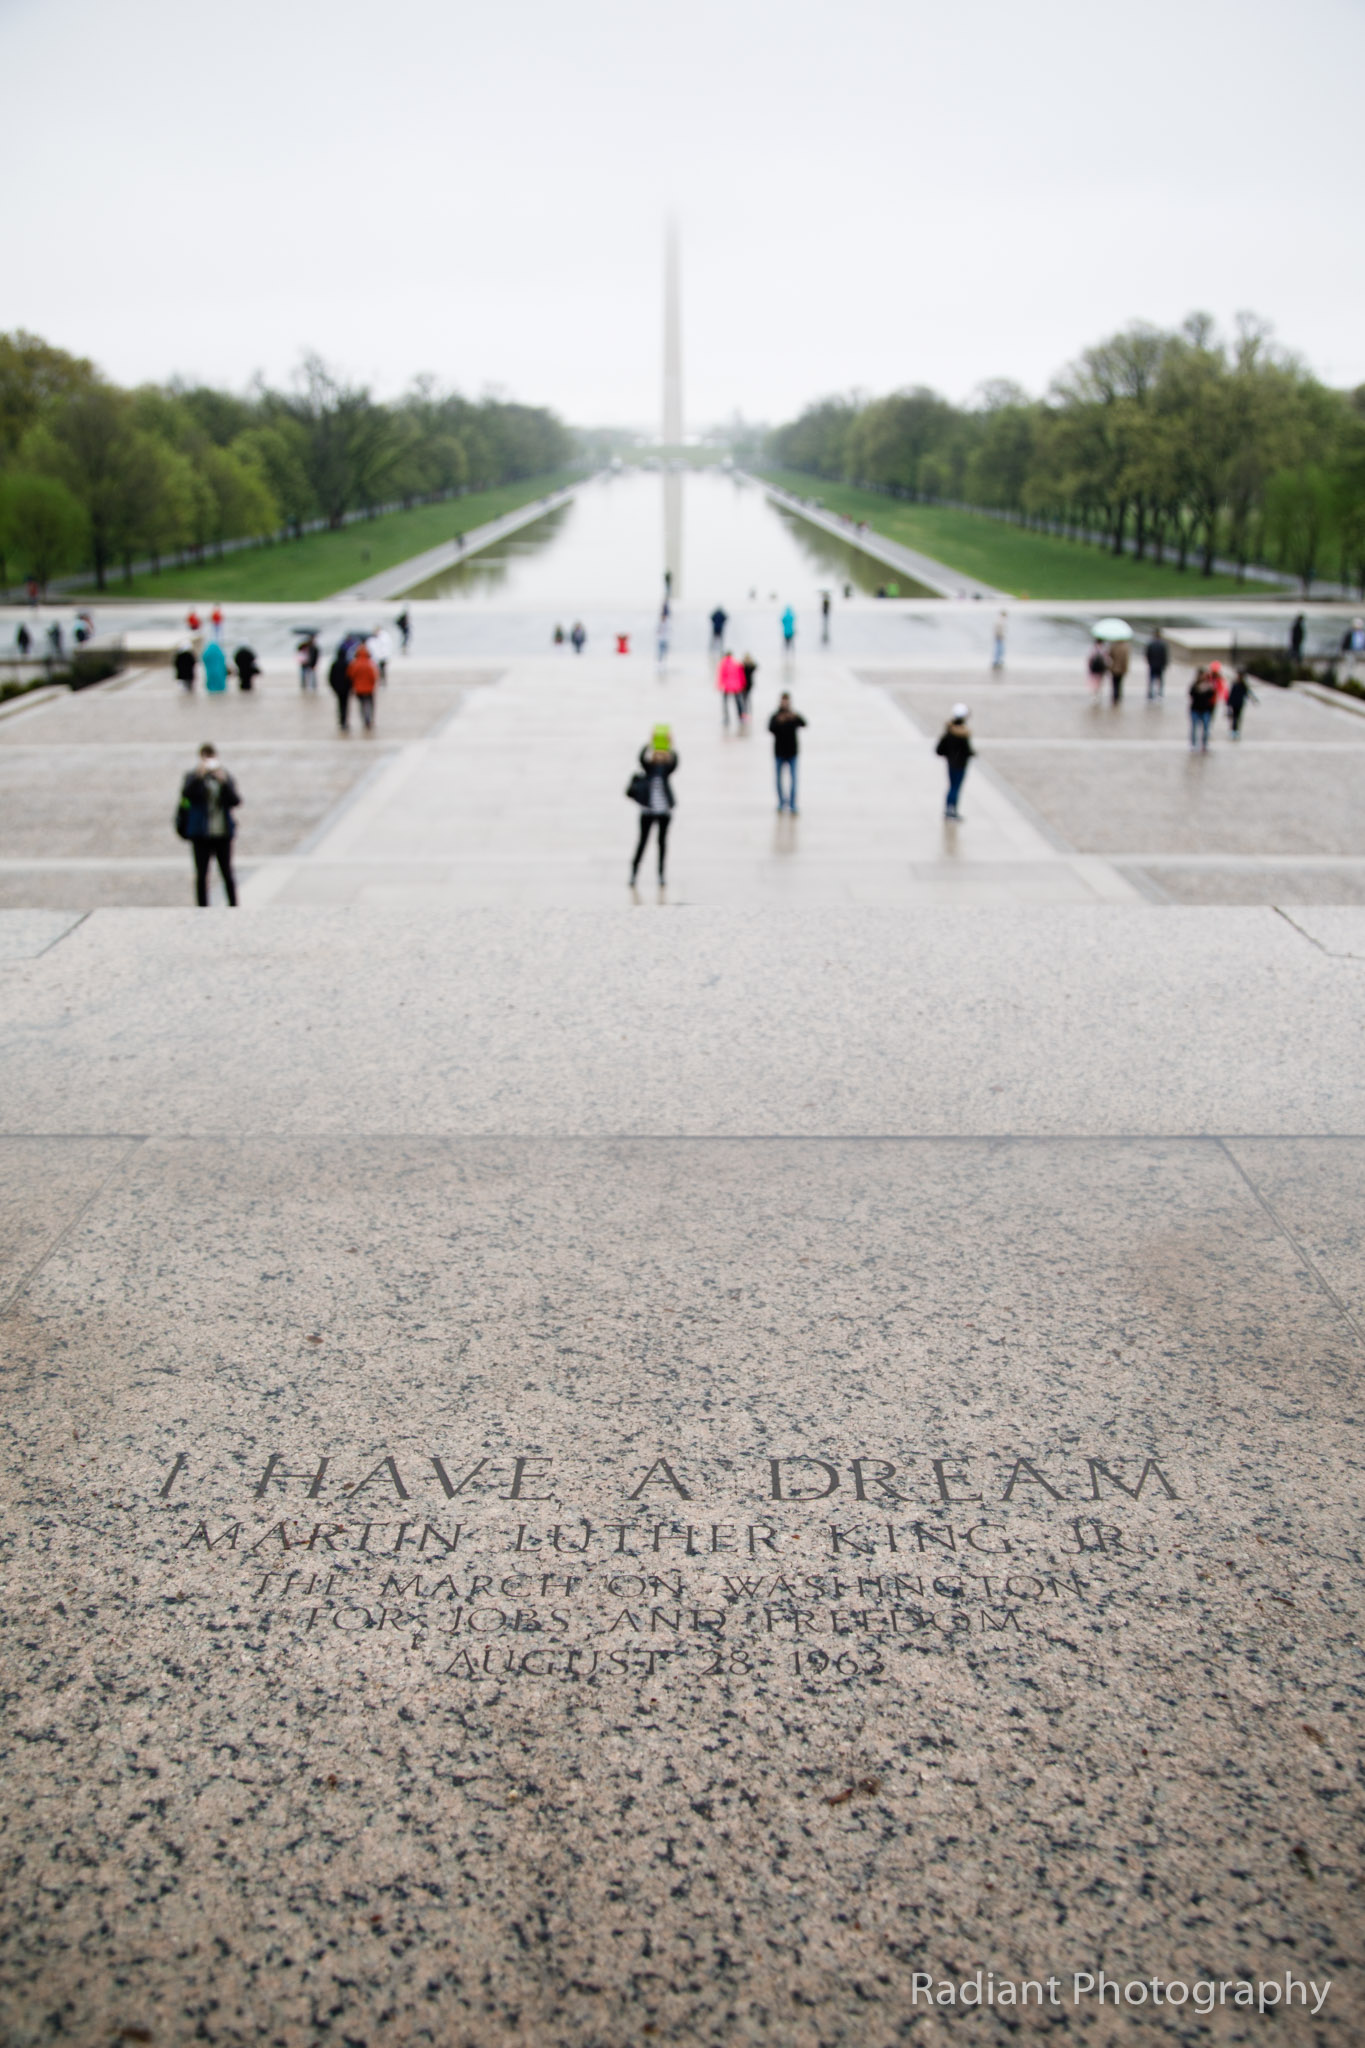
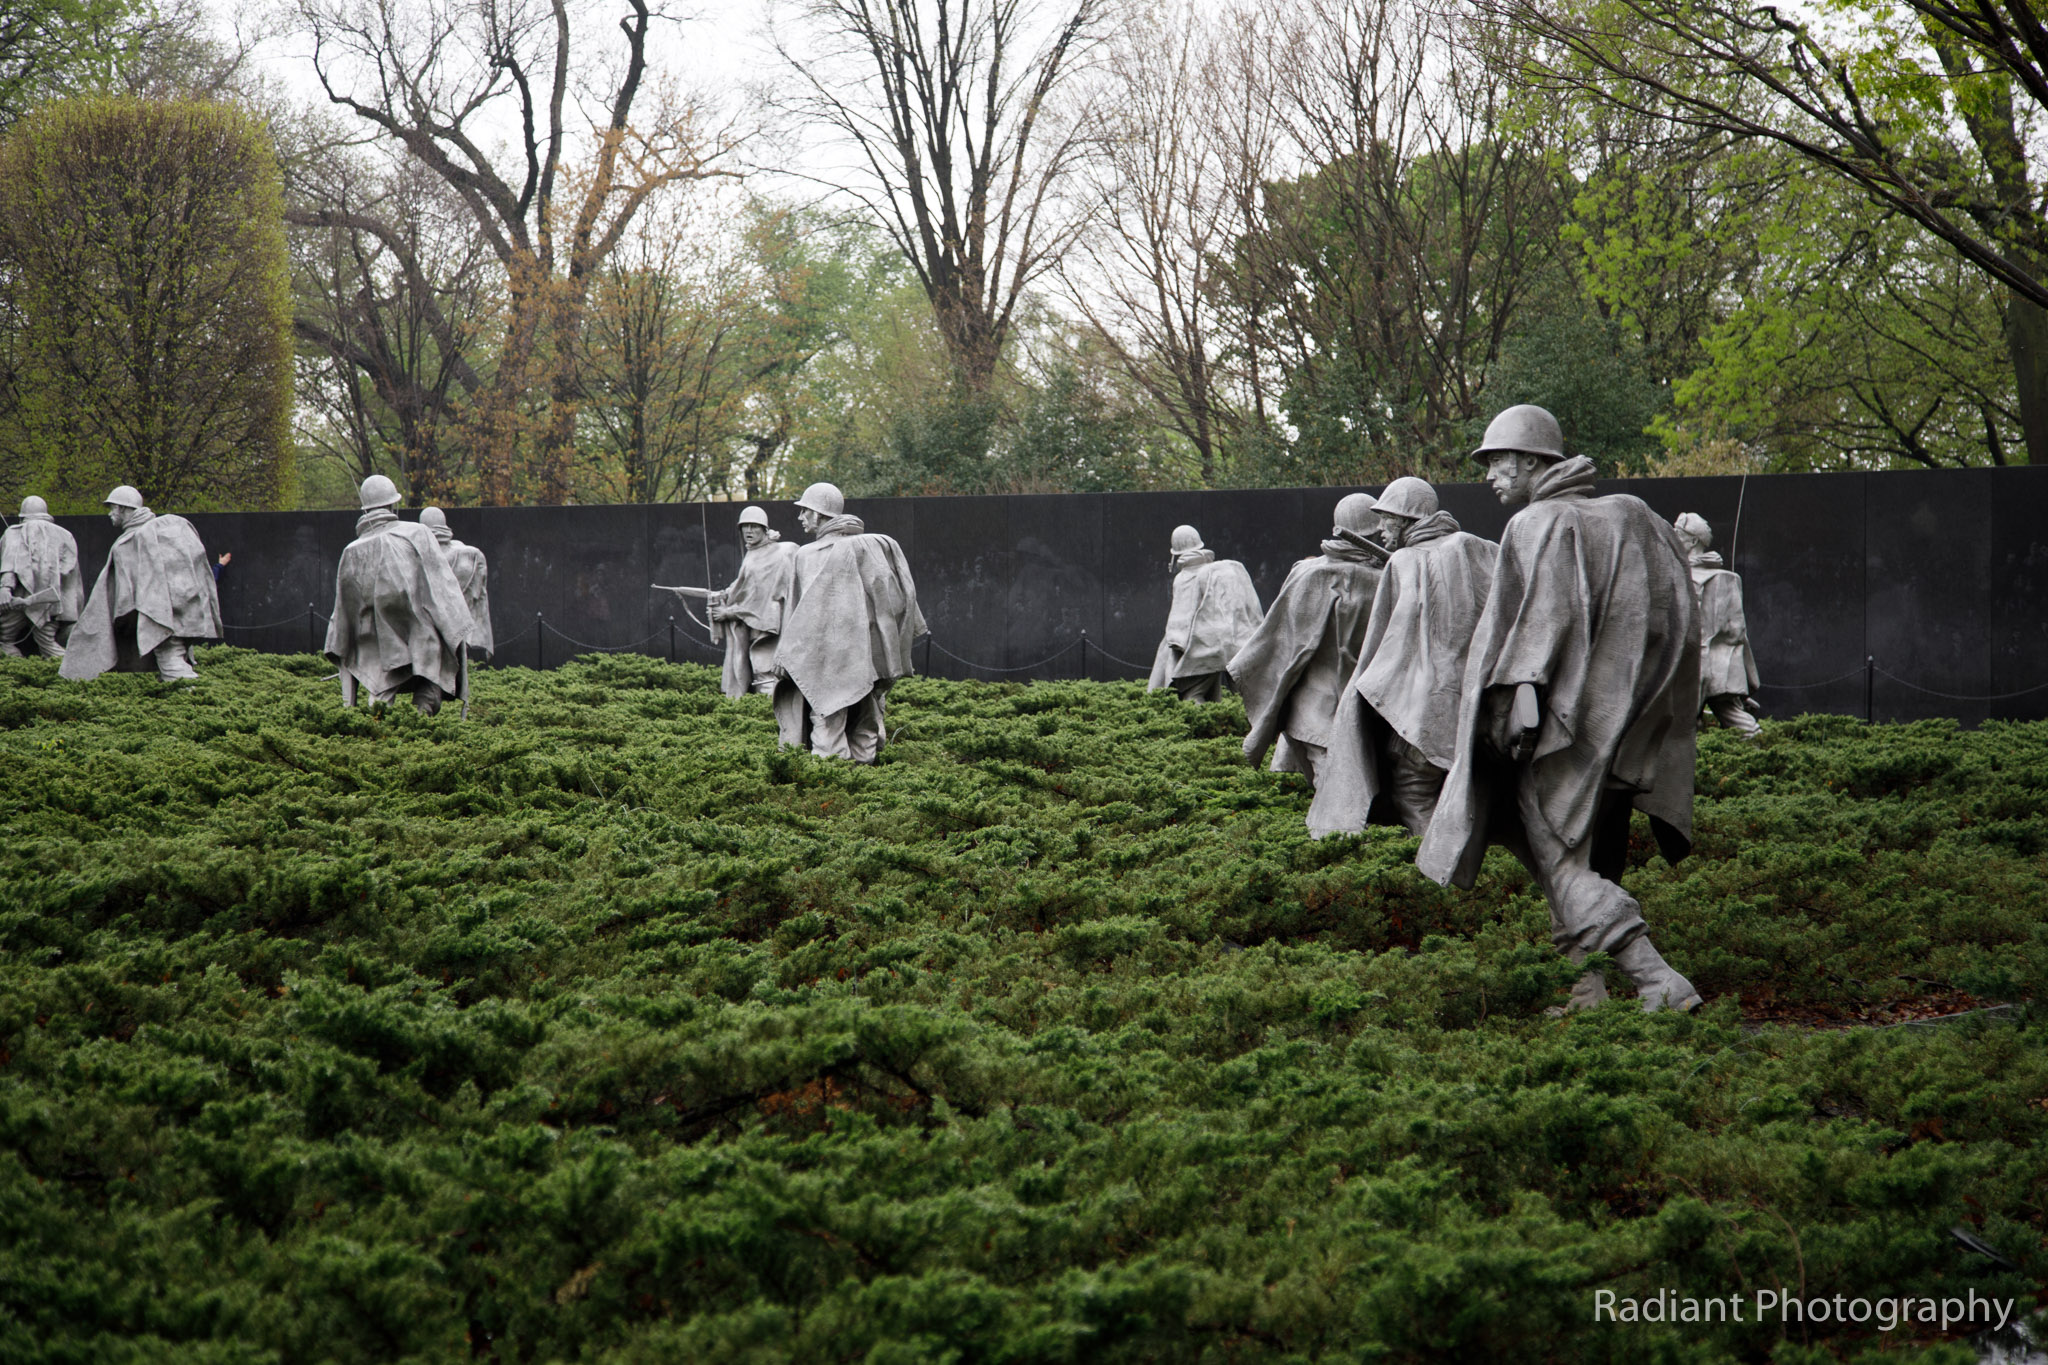
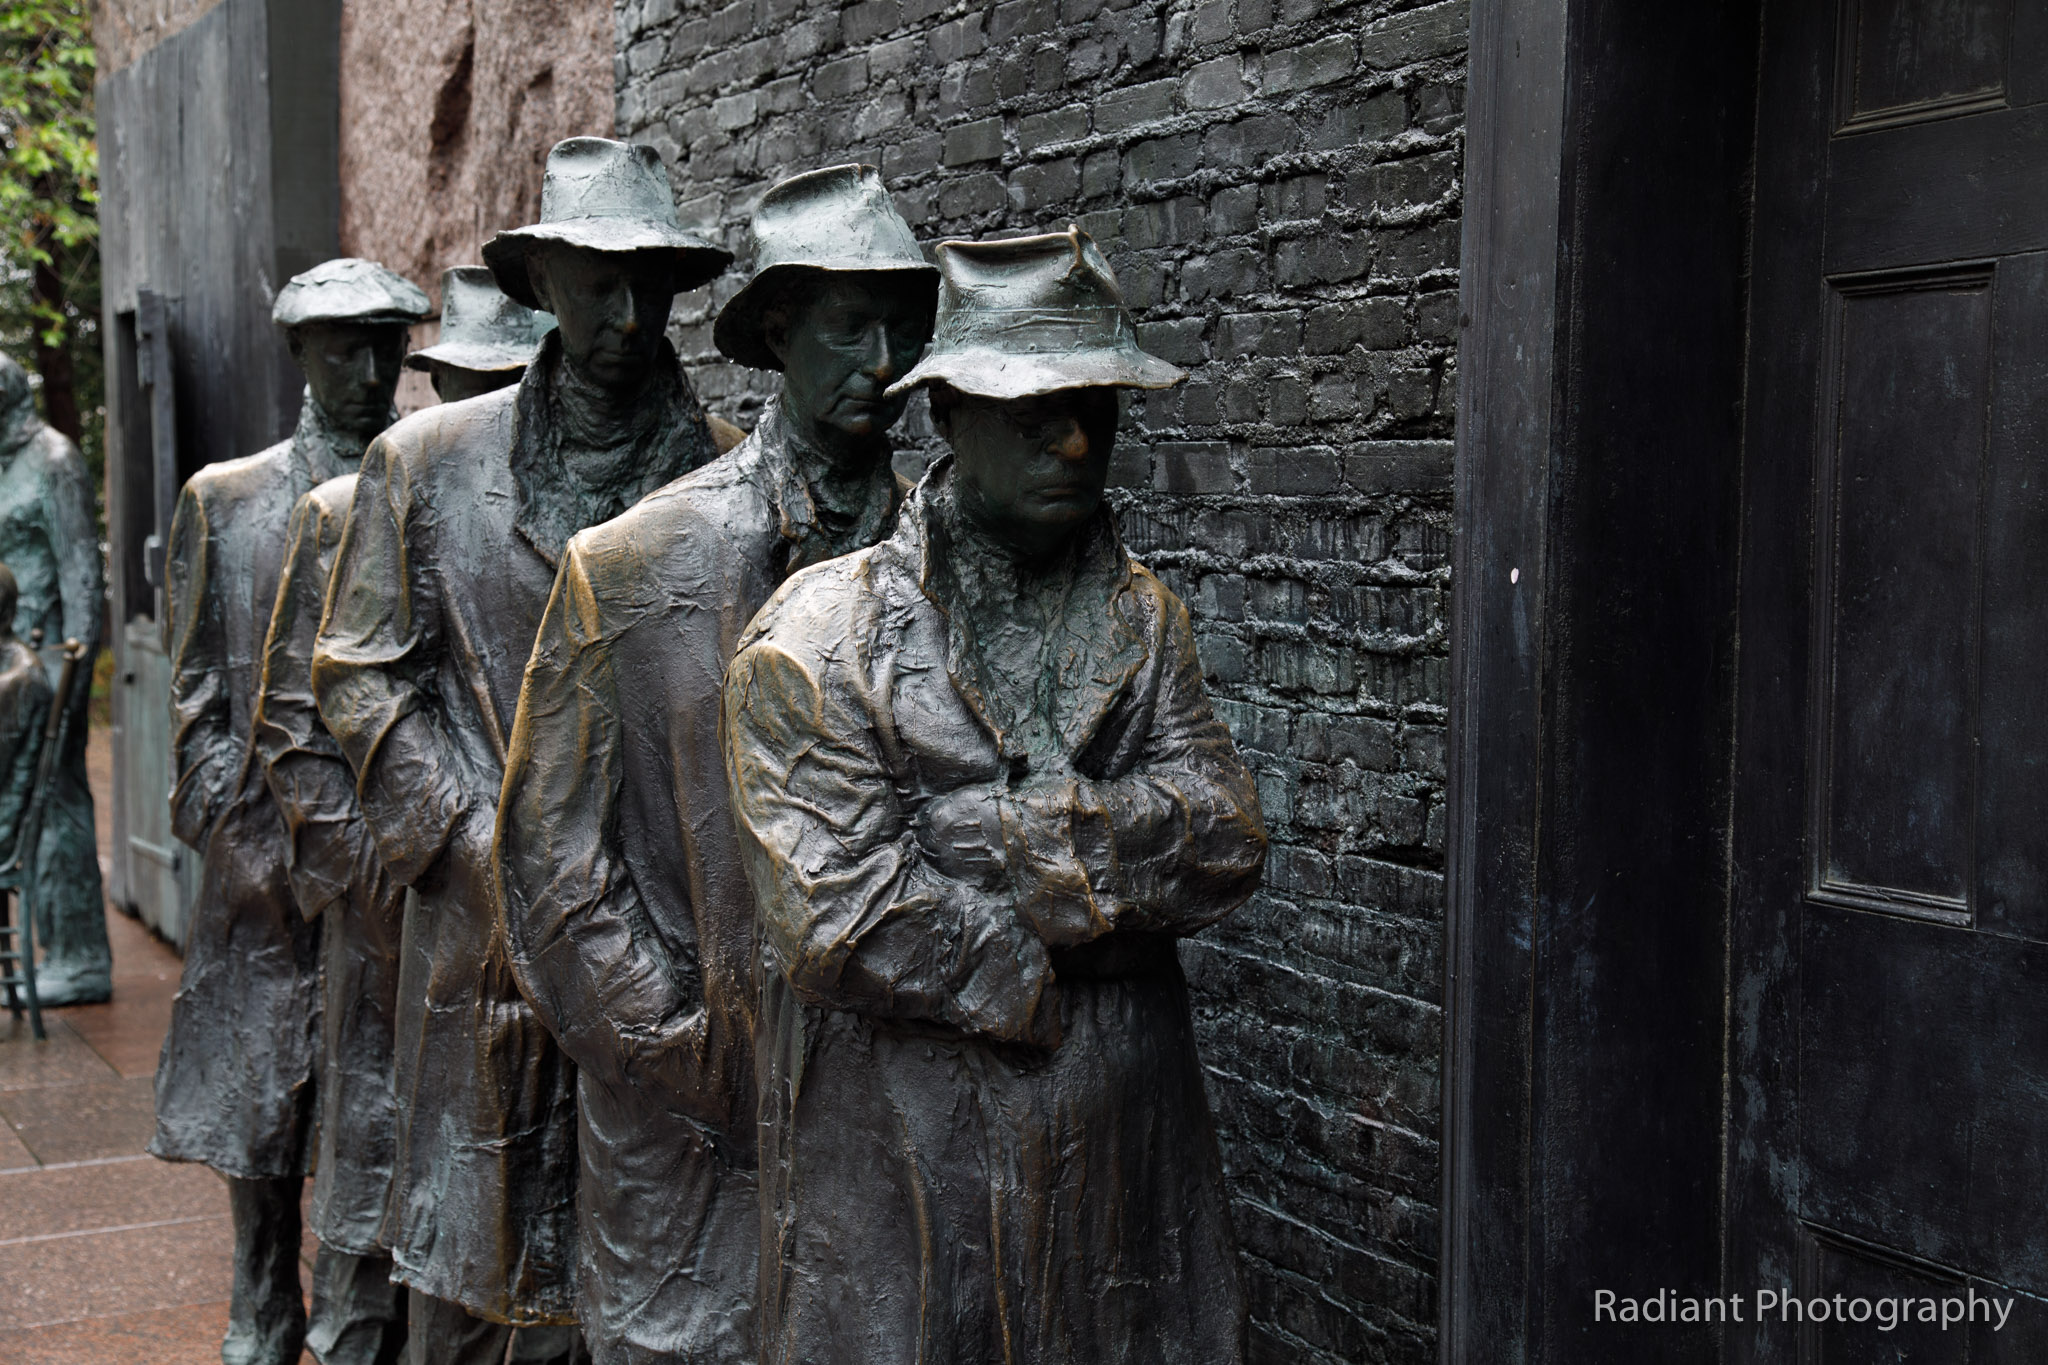
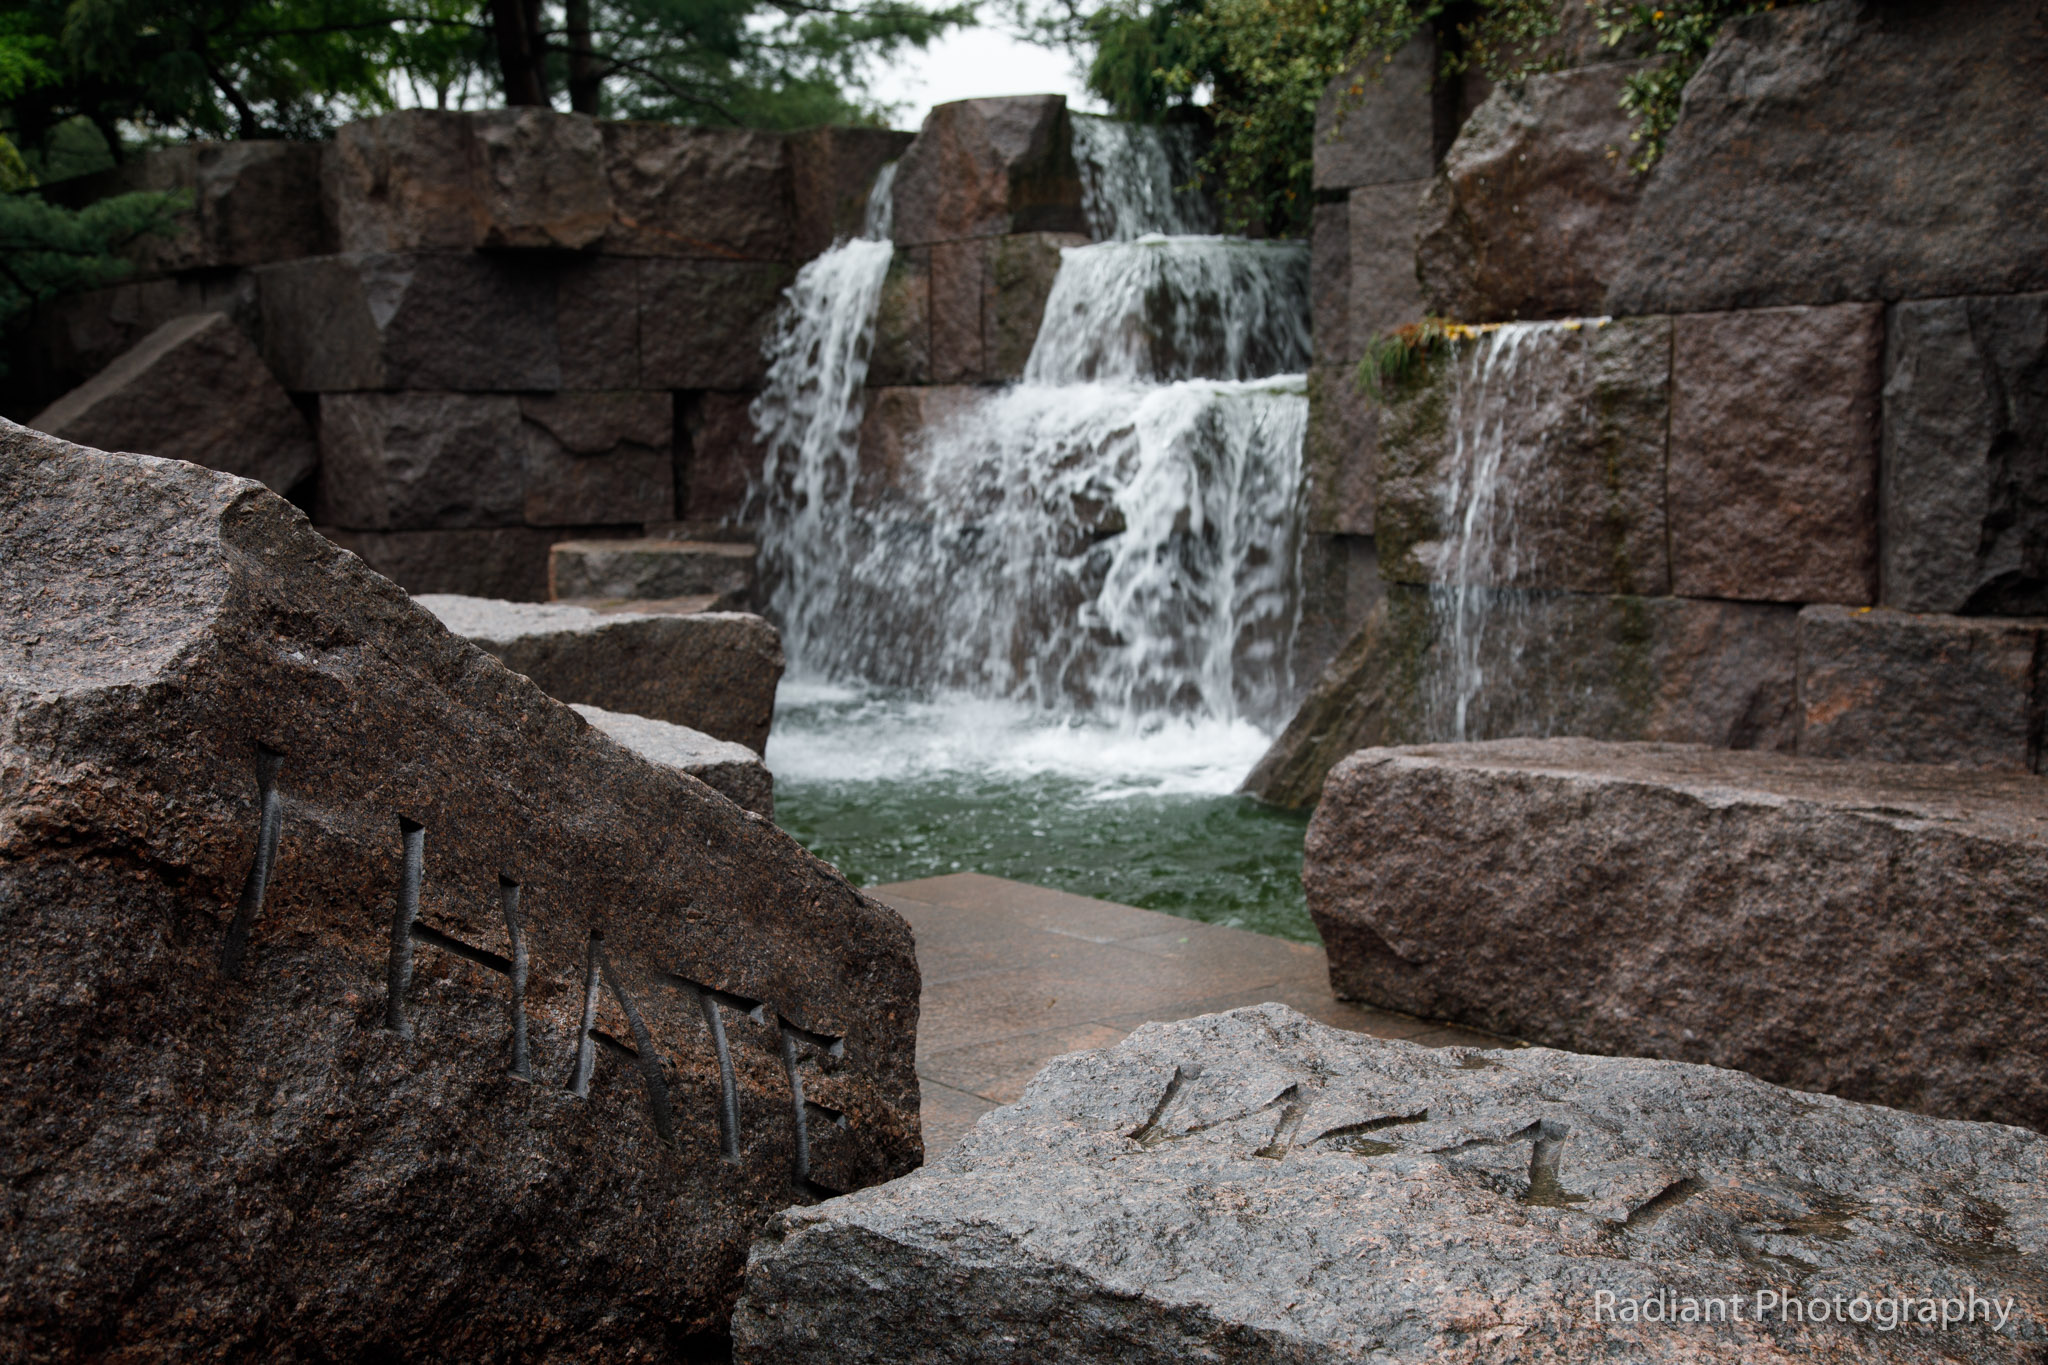
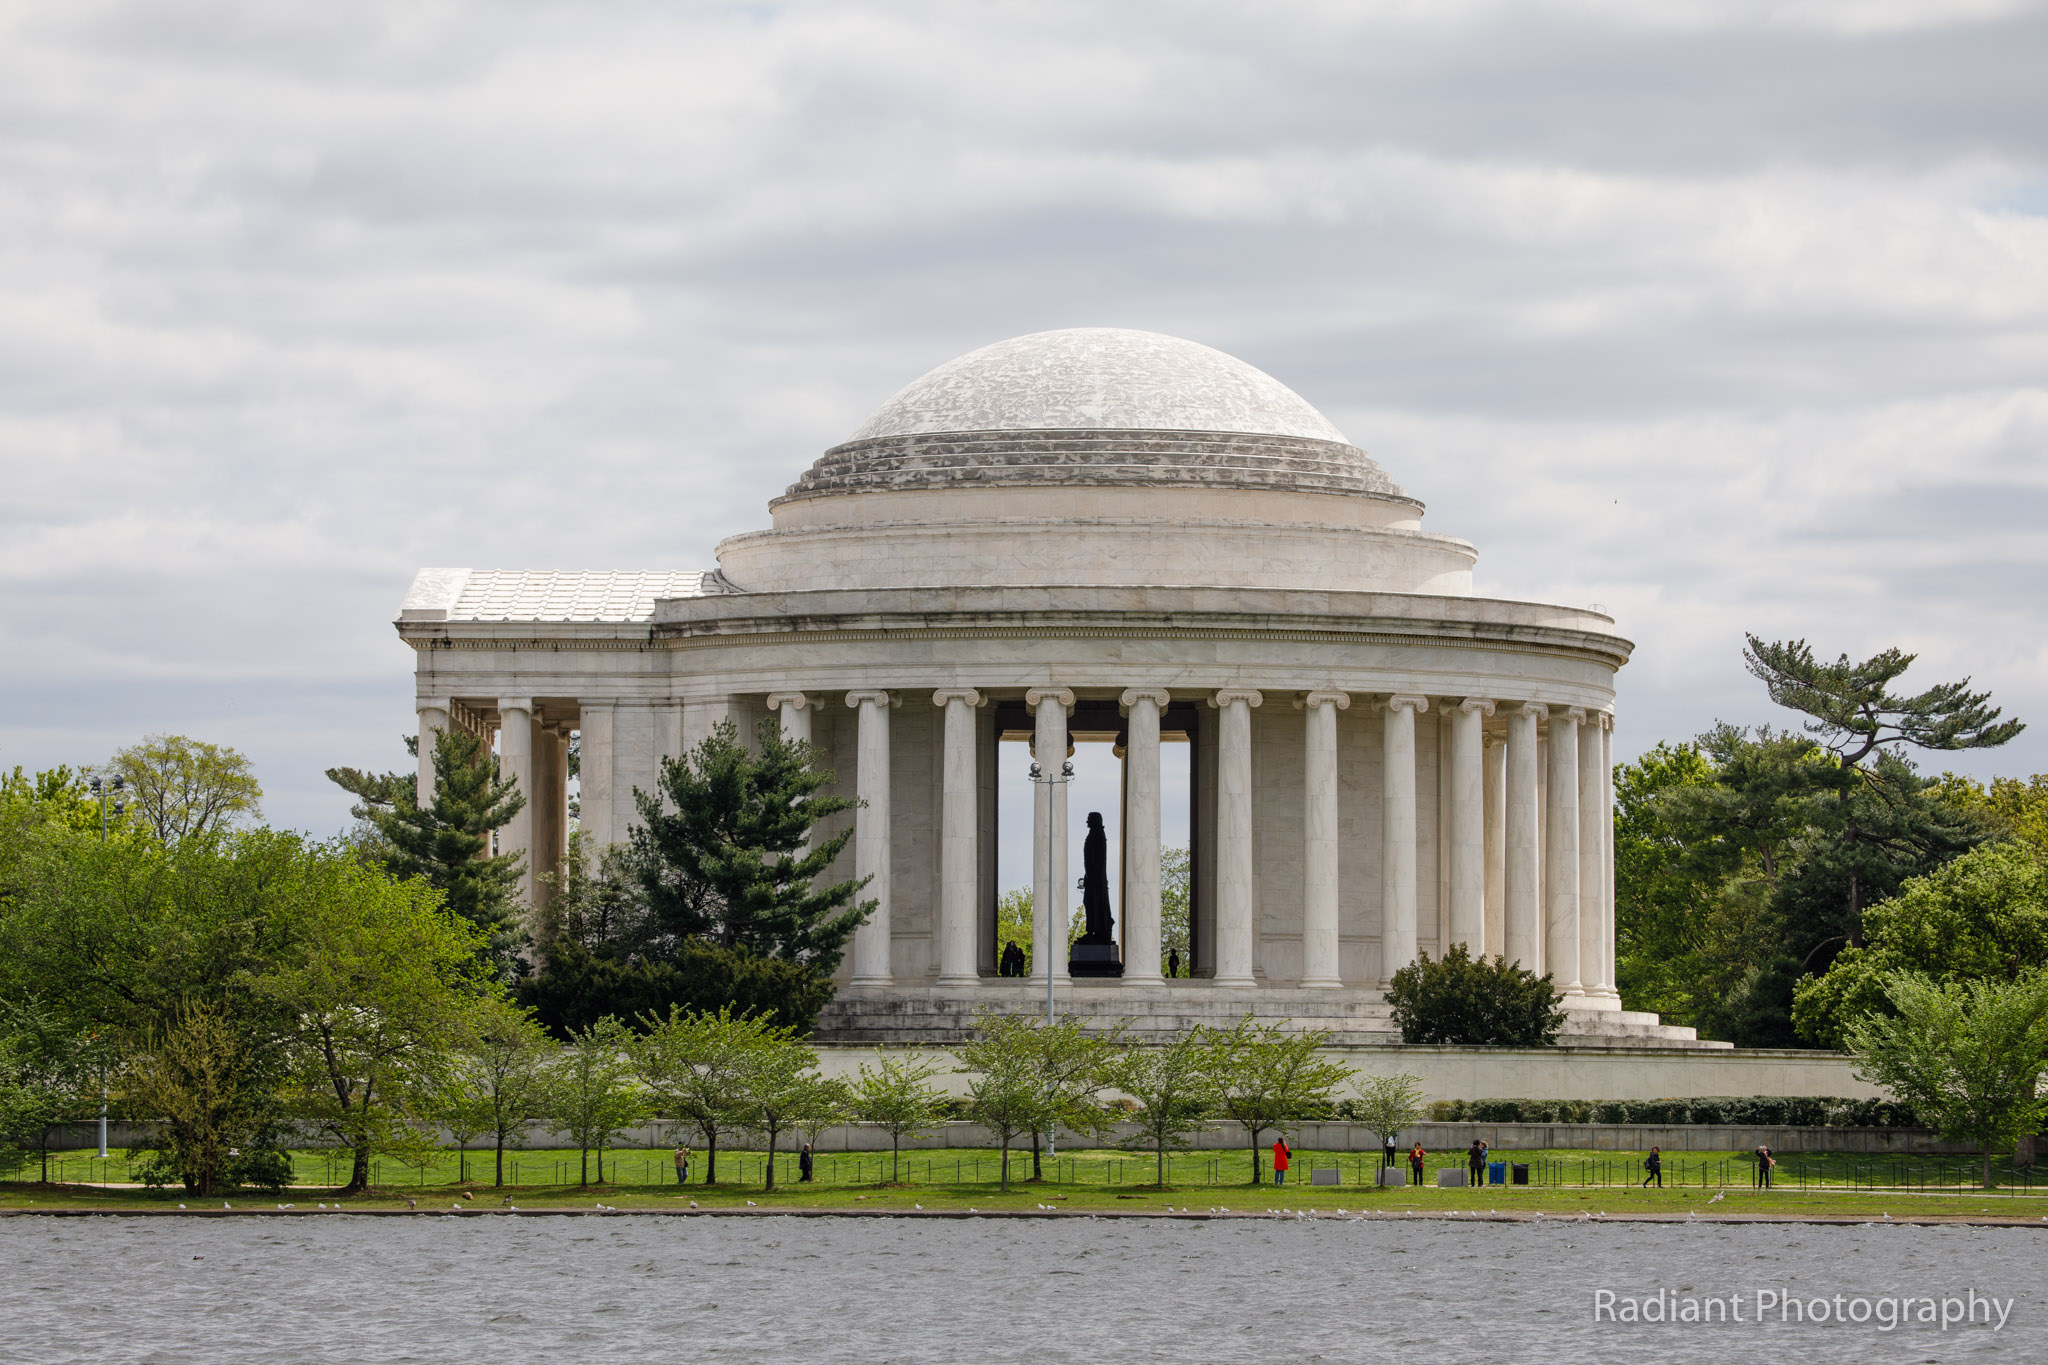
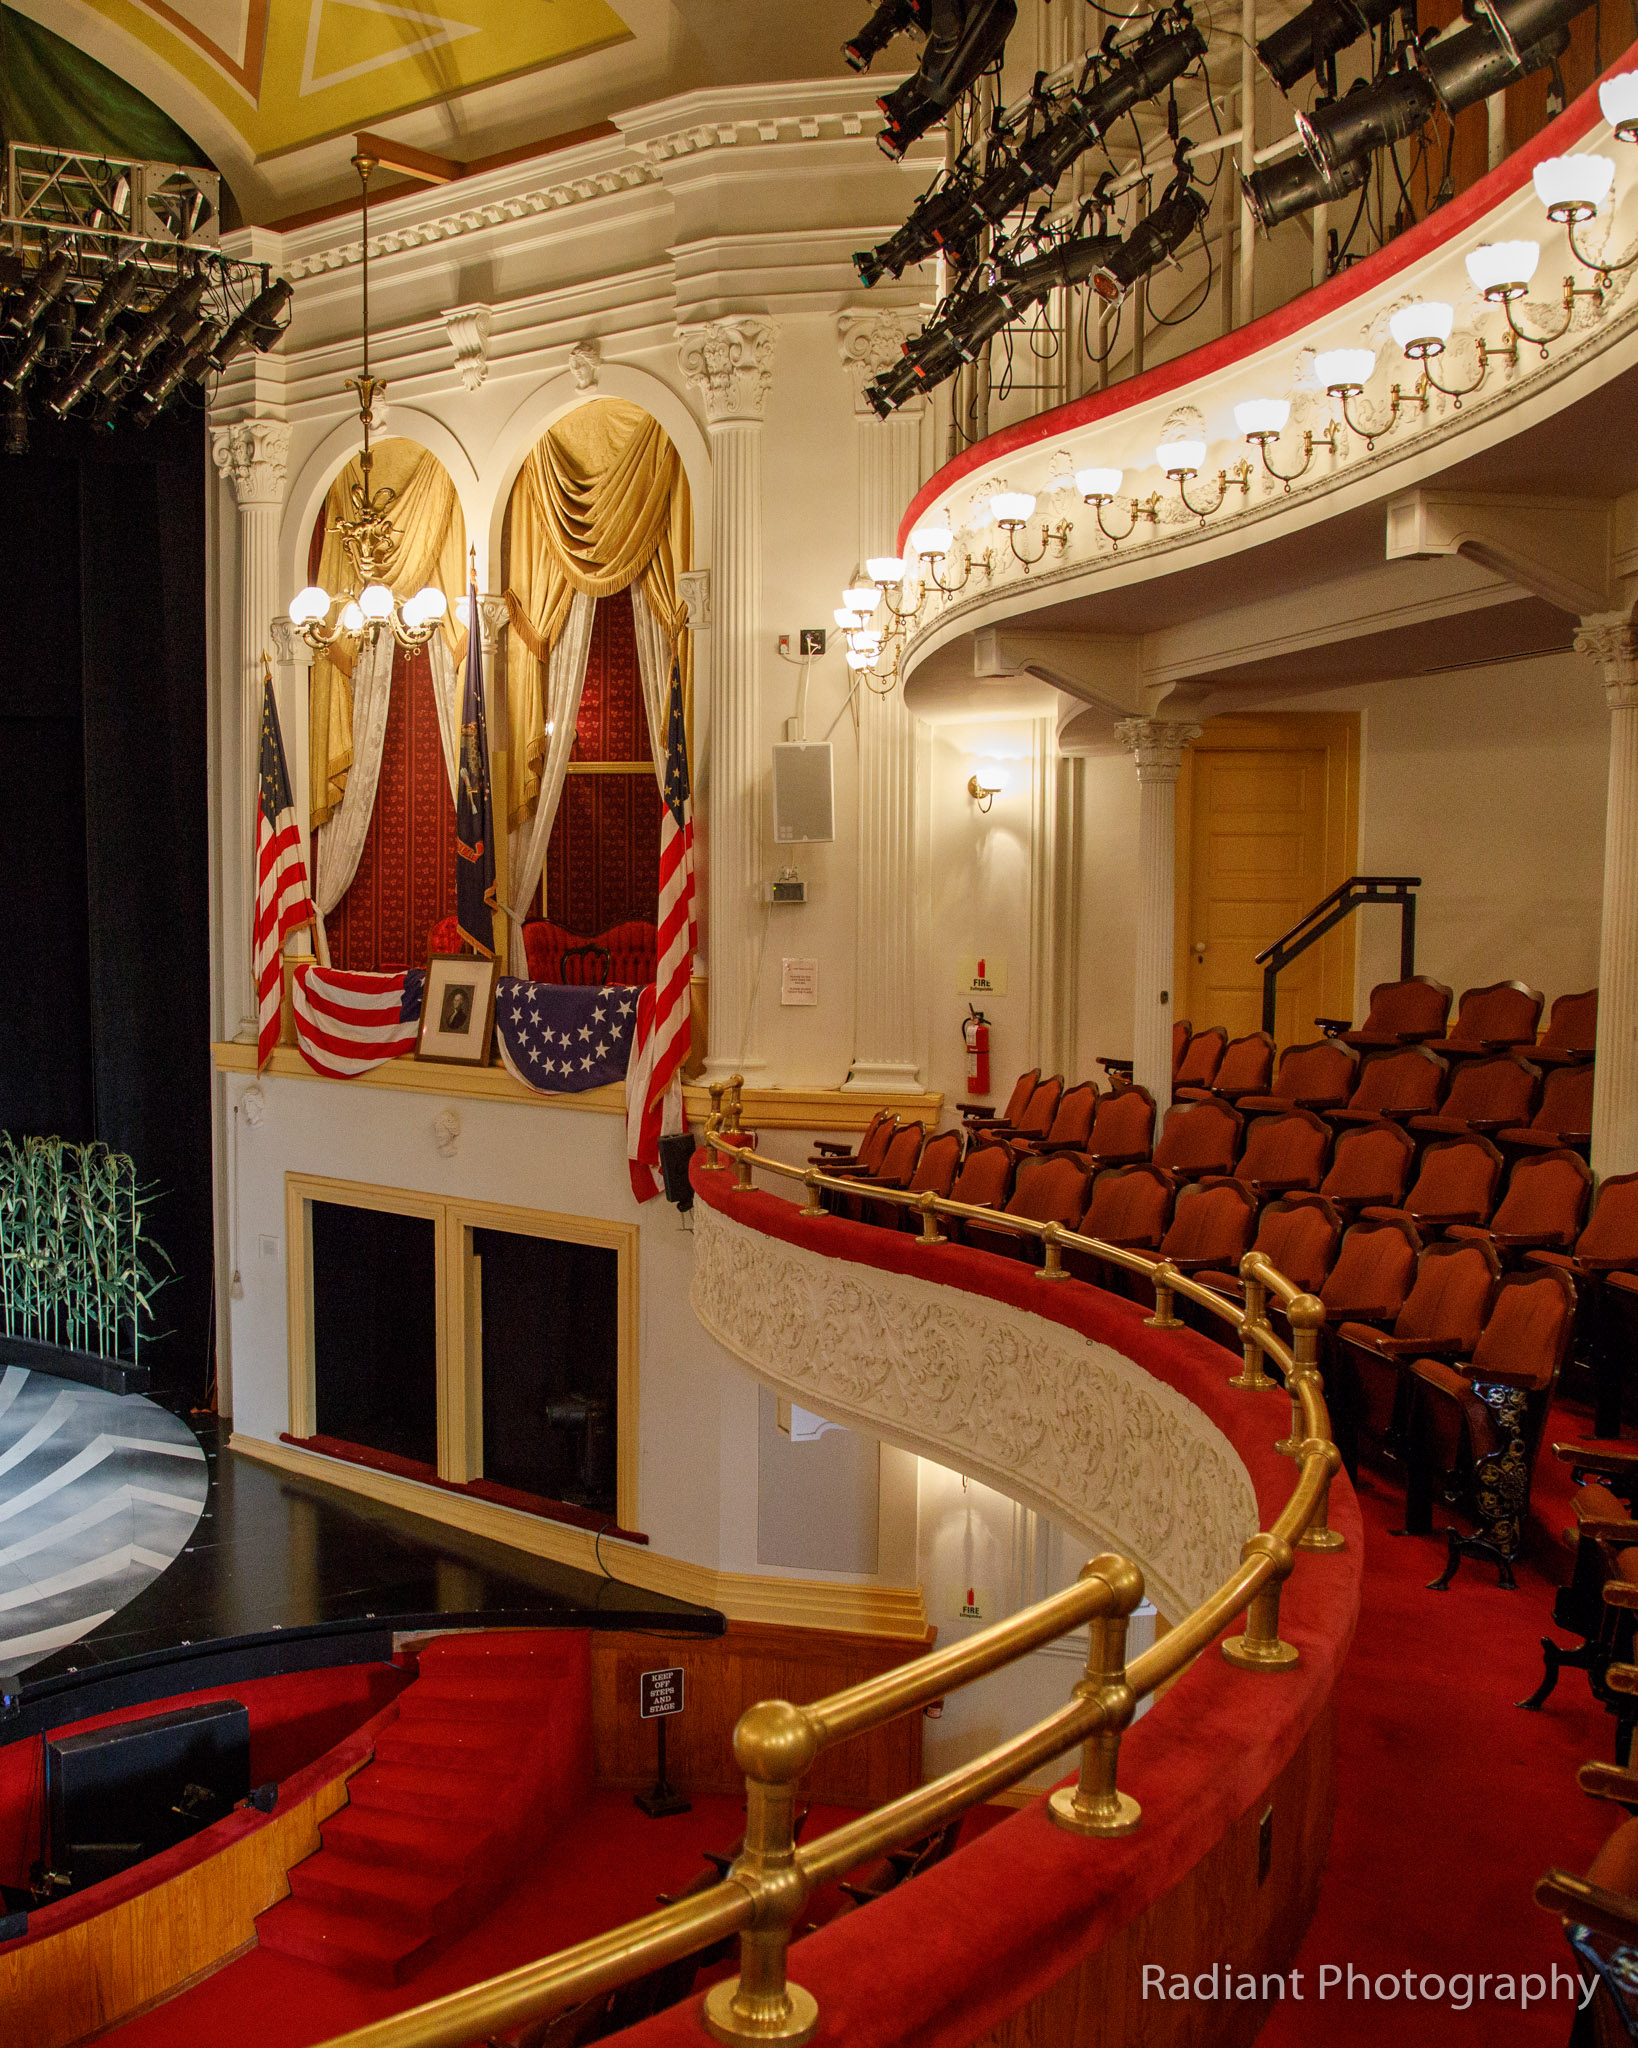
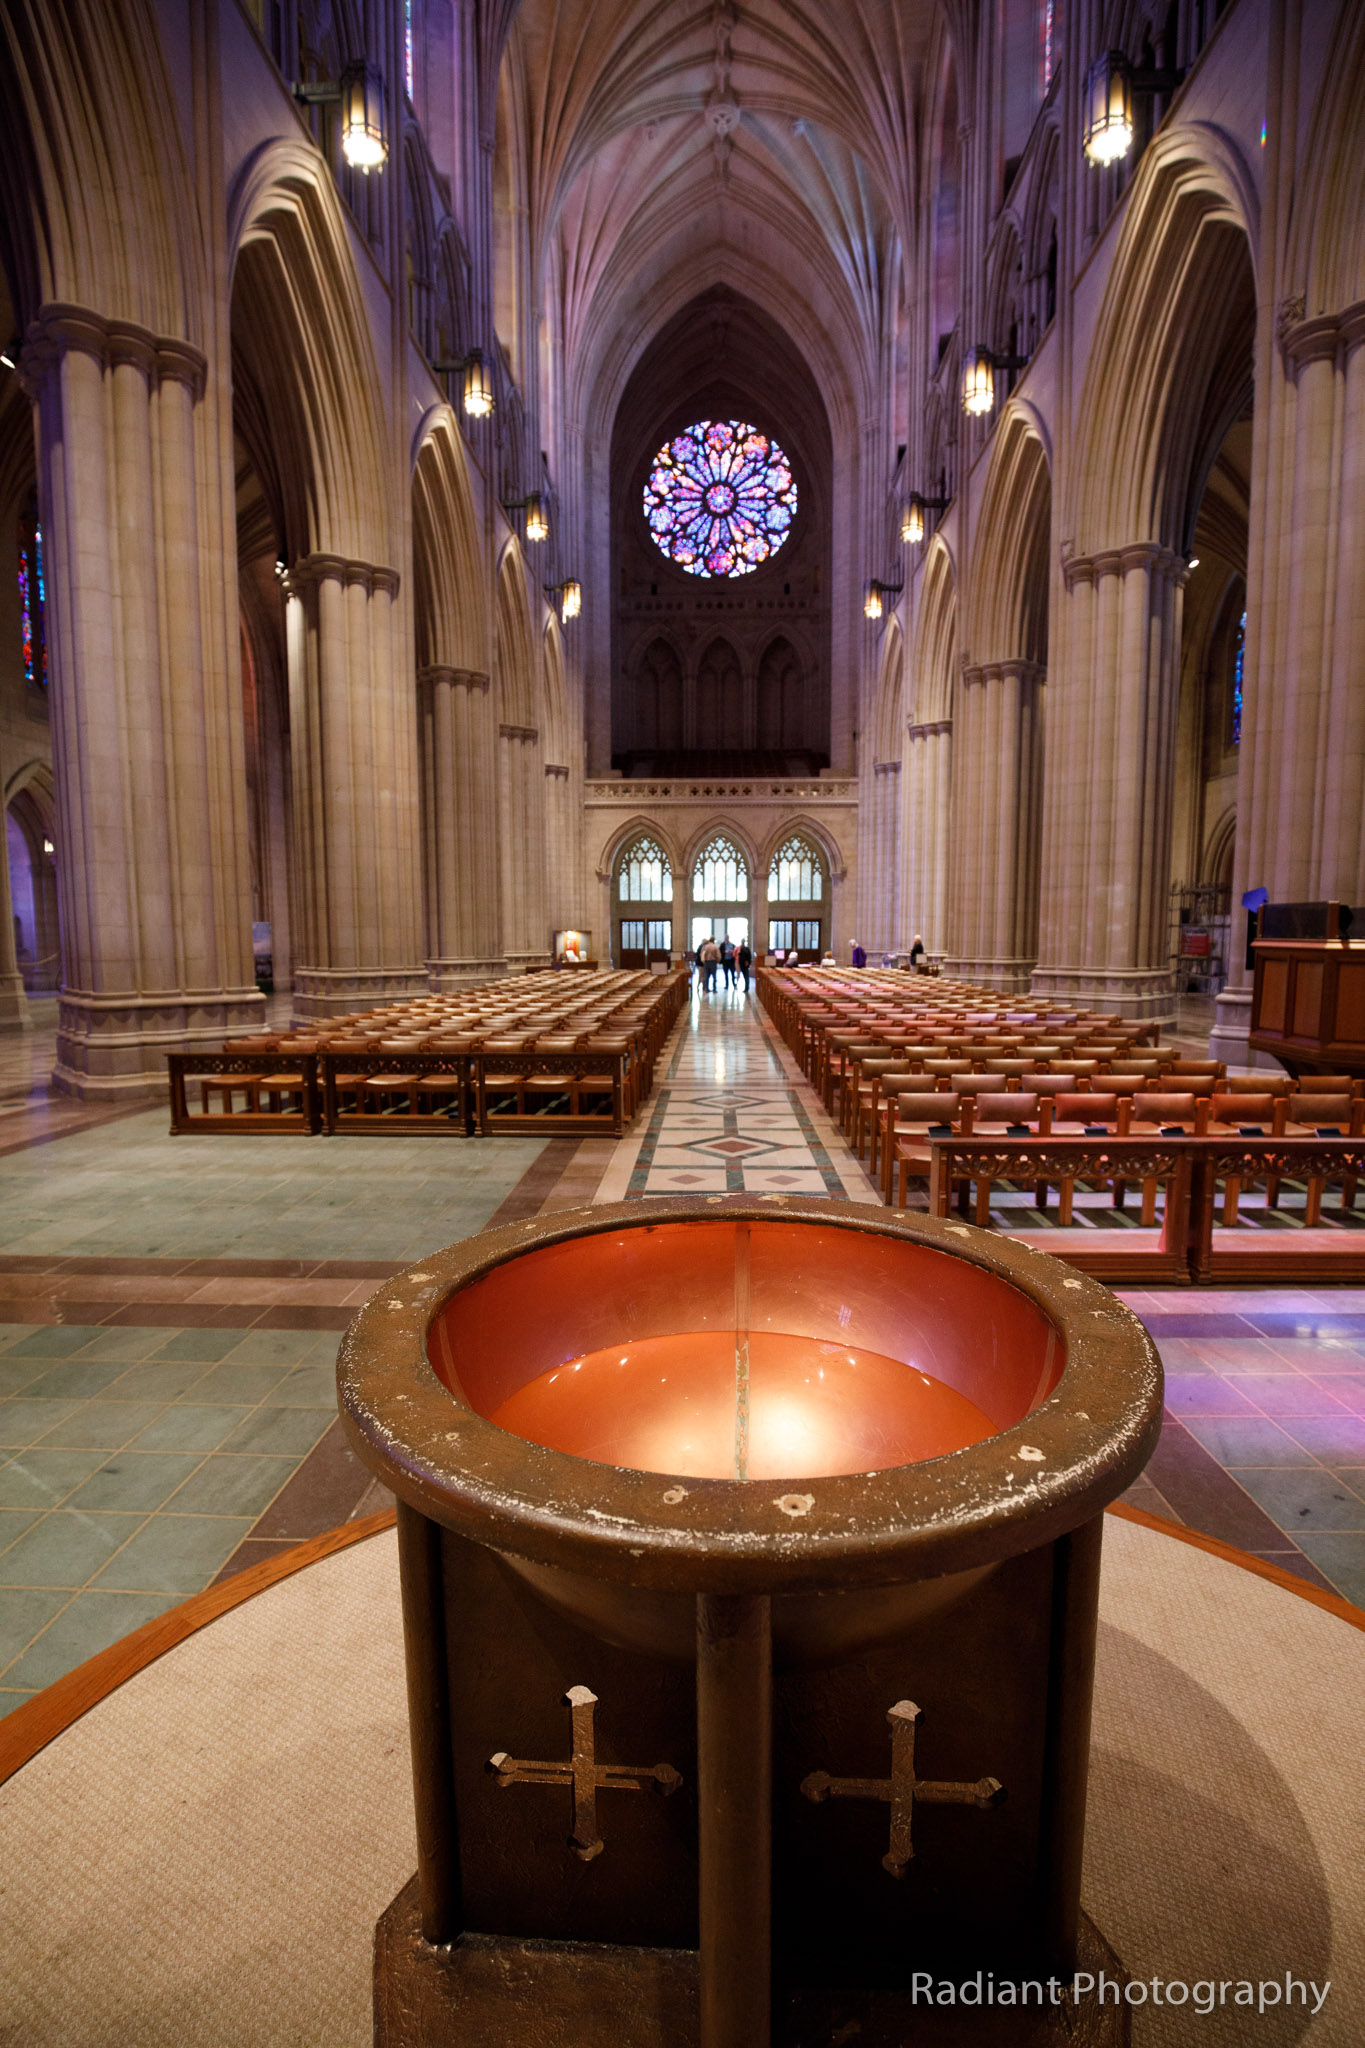
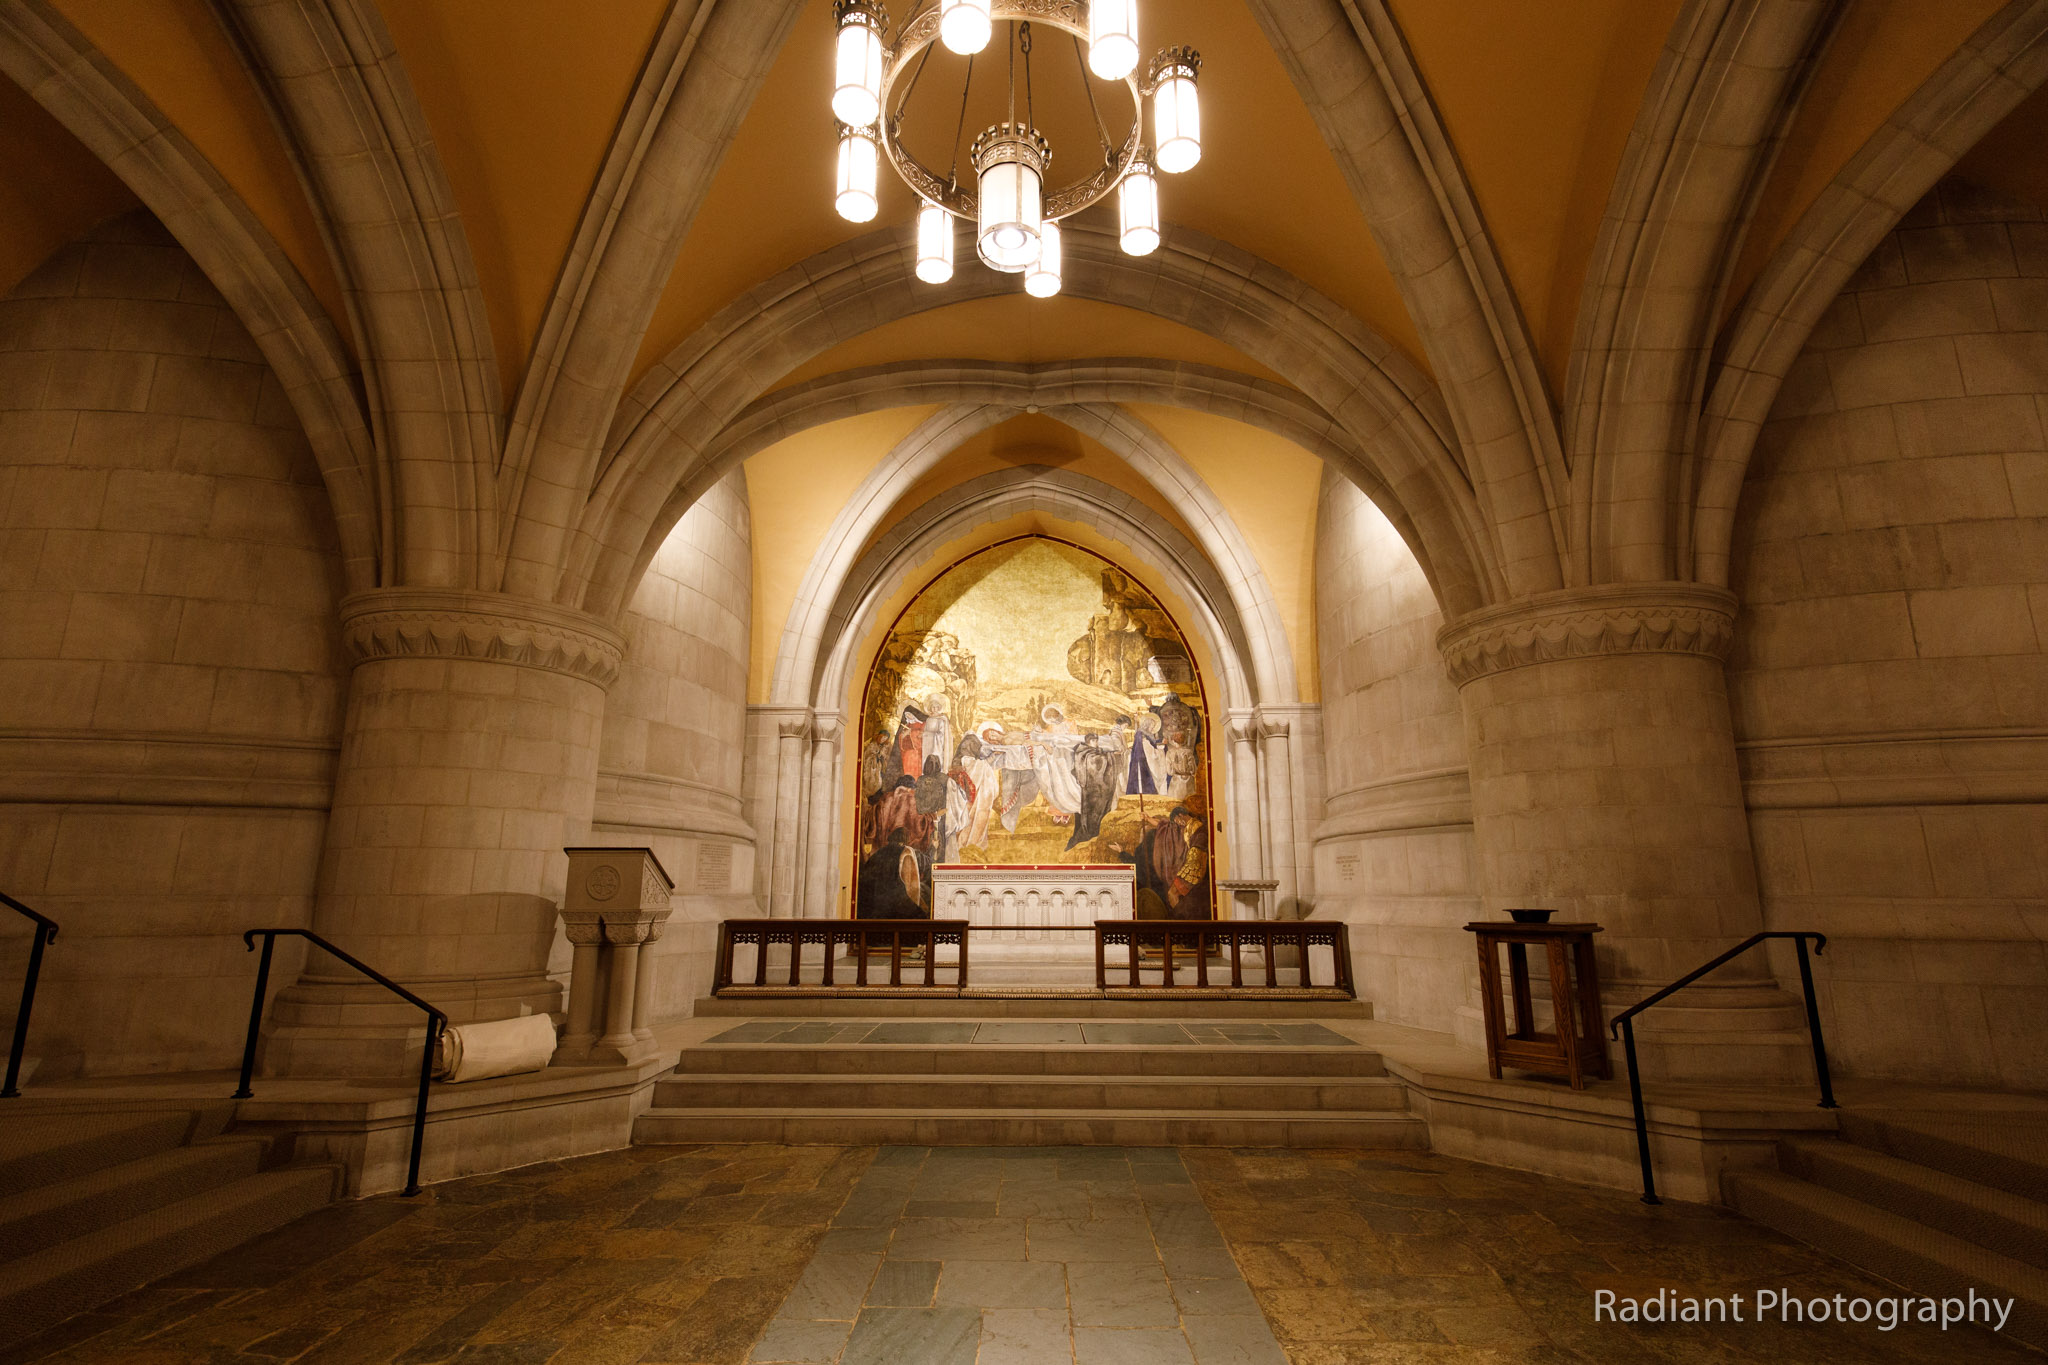
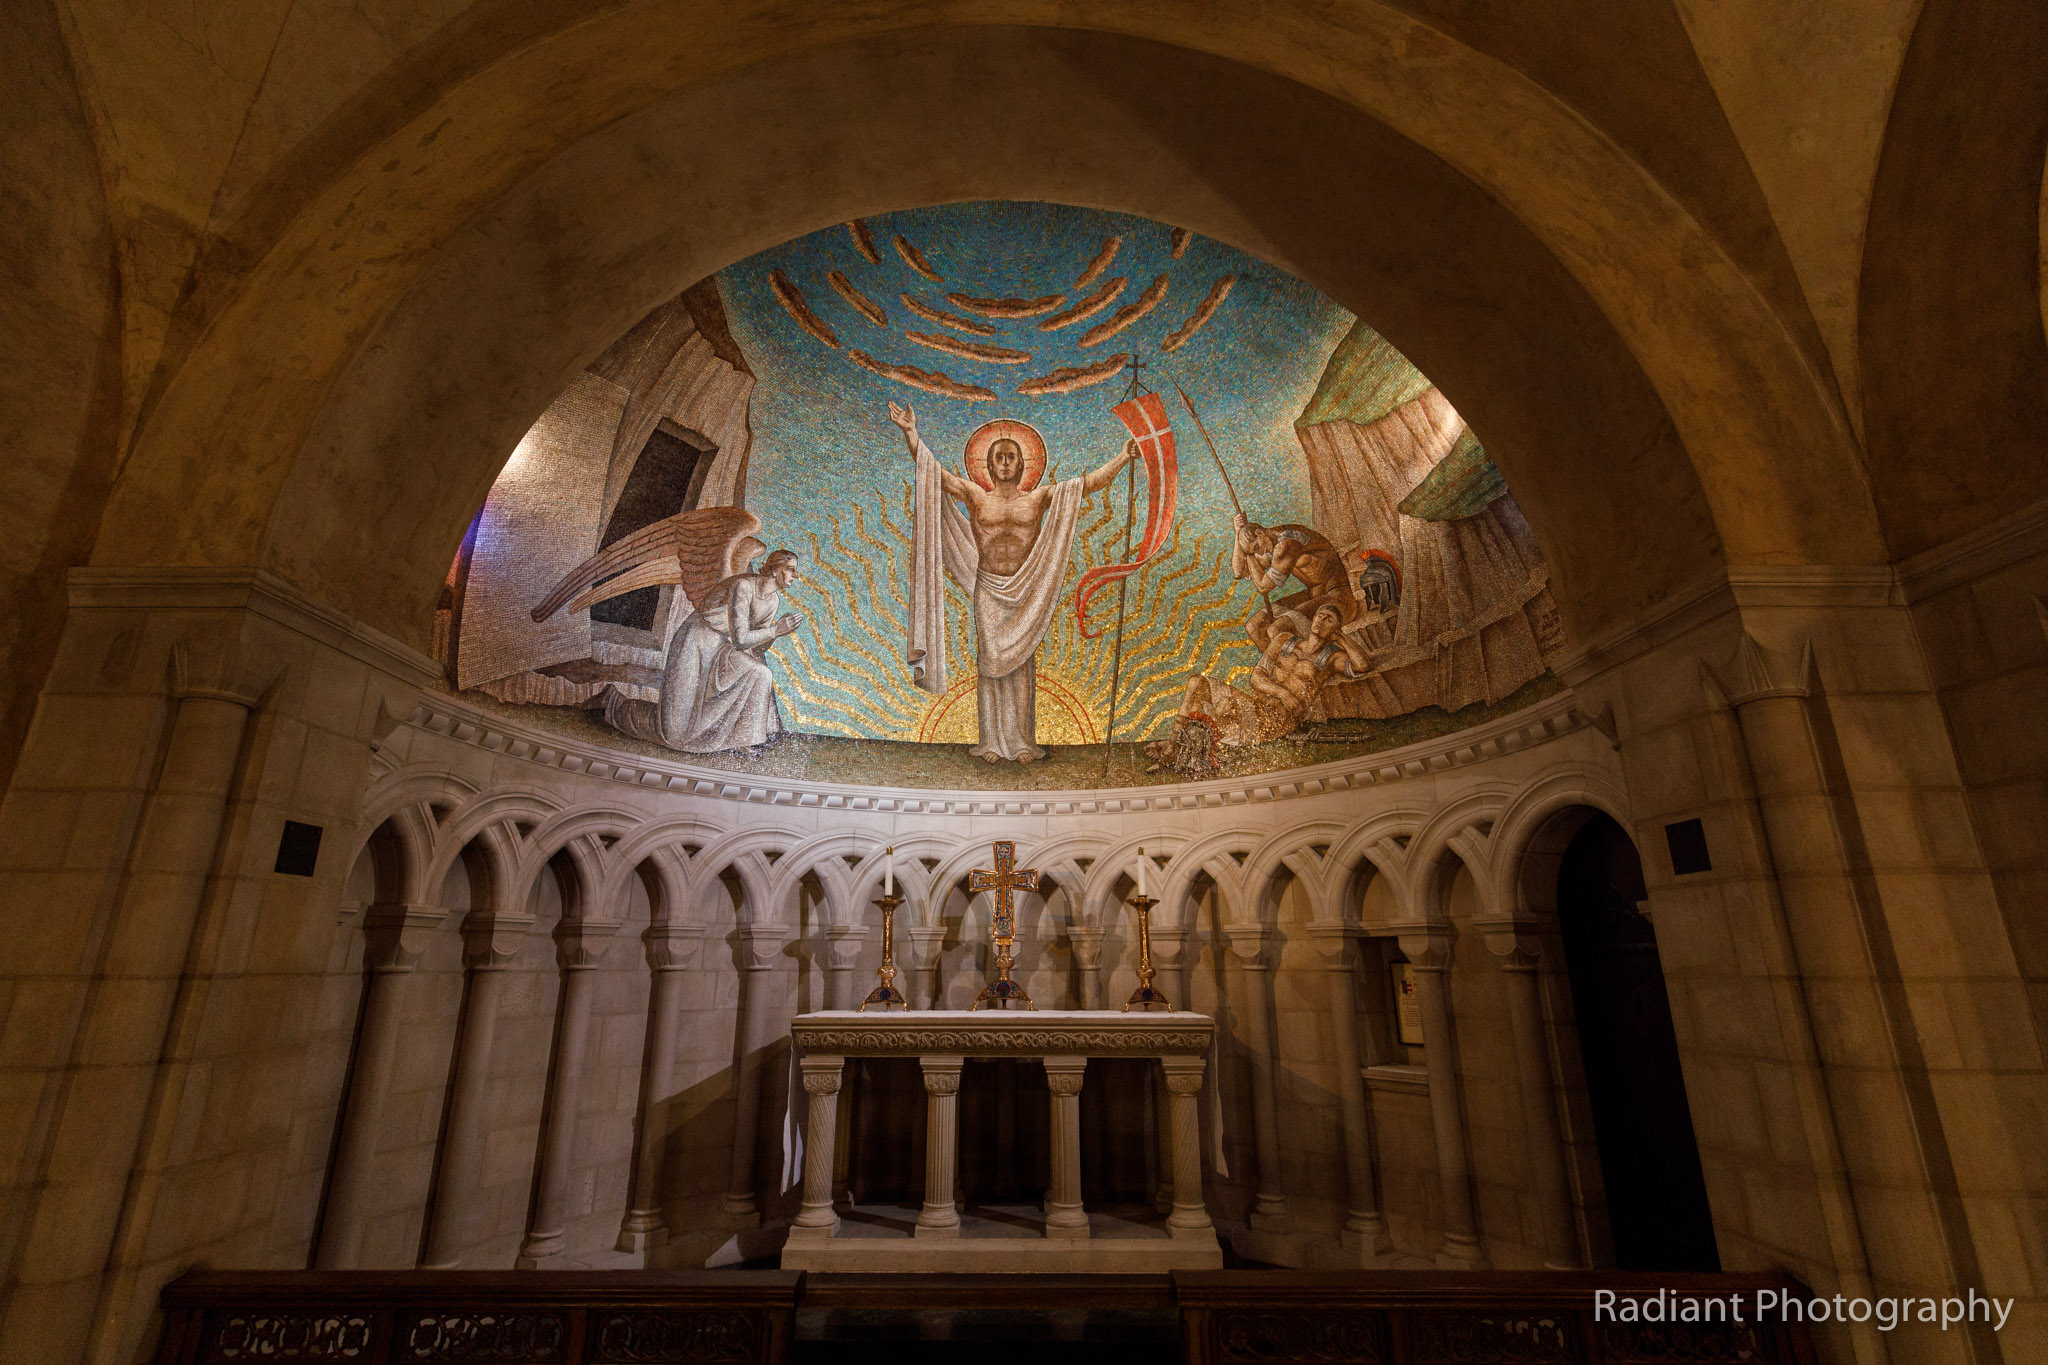
Here are my photos taken in Washington D.C. in the spring of 2018. Click any thumbnail to open into a full size slide show.


I thought it might be fun to create a video of a photo walk. I was out at a local nature park on a winter morning (okay, it was spring, but Michigan doesn’t always behave like the season suggests). In the video, I offer some tips for photographing in the winter, and more specifically in an area like Central Michigan. I also talk a little bit about composition.
Check it out and let me know what you think…
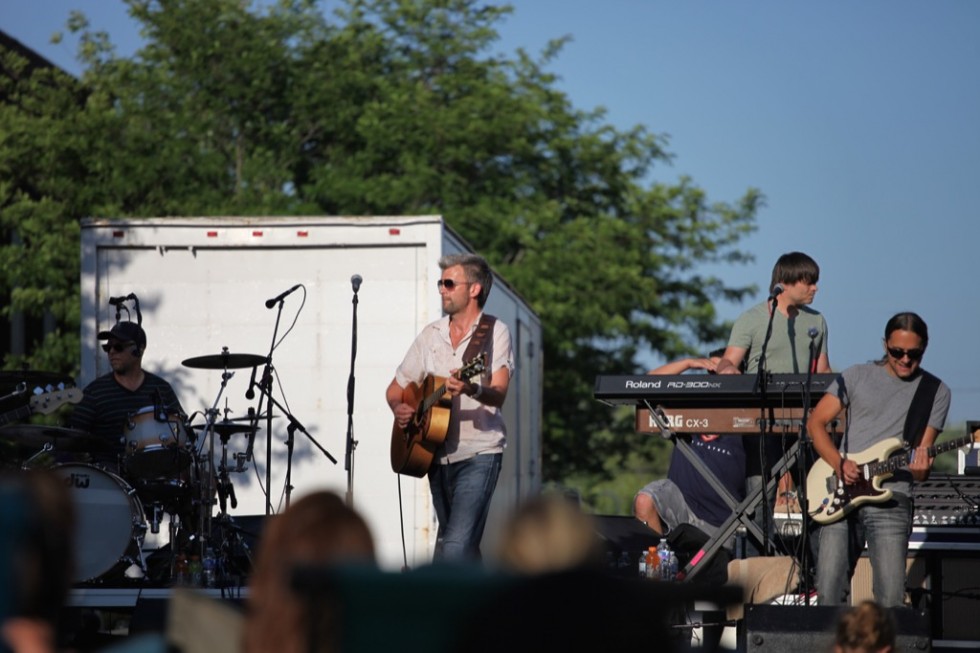
I’m finally finding time to edit the photos I took over the summer (Michigan winters provide a good opportunity to catch up with things indoors). I was pleasantly surprised to look back at the photos I made during a family day at the Brookfield Zoo just outside of Chicago.
I don’t add zoo photos to my portfolio, because I don’t like that the animal is forced to be there. I feel like you don’t really earn a photo of an animal unless it is truly wild. Regardless, I still wanted to share the photos so I uploaded them to an album on the Radiant Photography Facebook page. Check them out at the link below, and be sure to “Like” the page while you’re there.
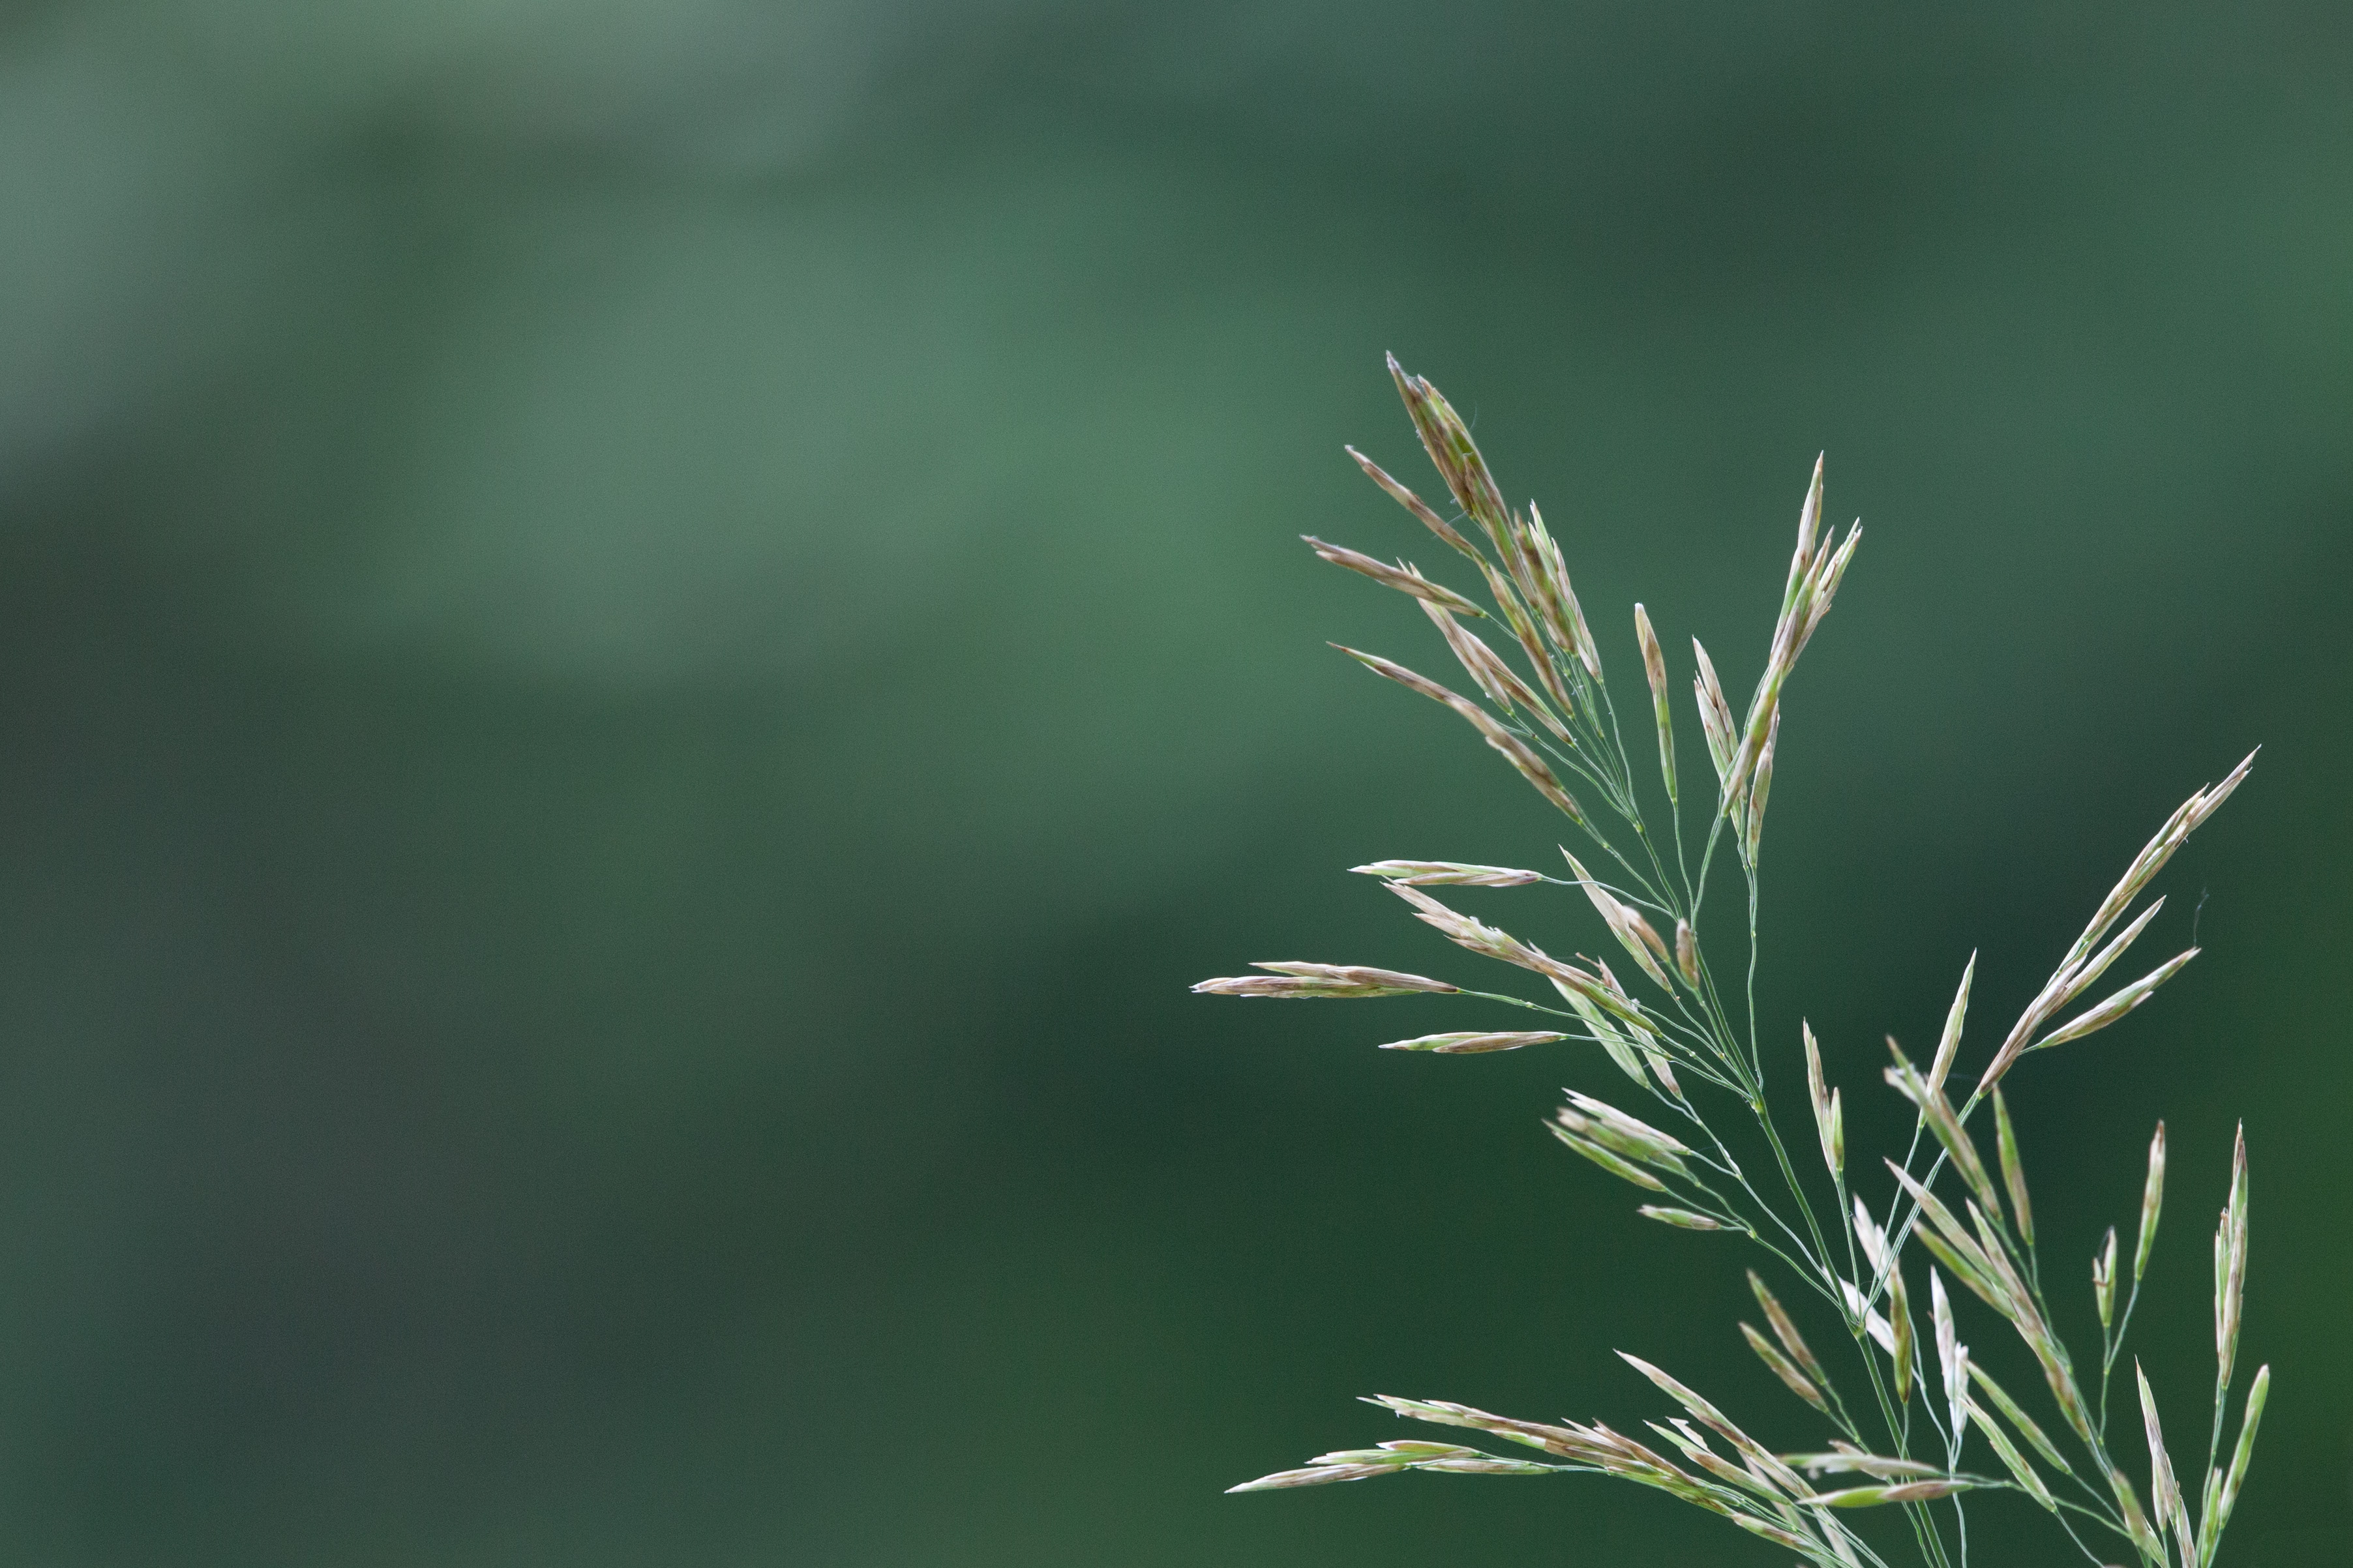
If you’re looking for a new summer-themed desktop background, here’s a photo I took at Pokagon State Park in Indiana a few weeks ago.
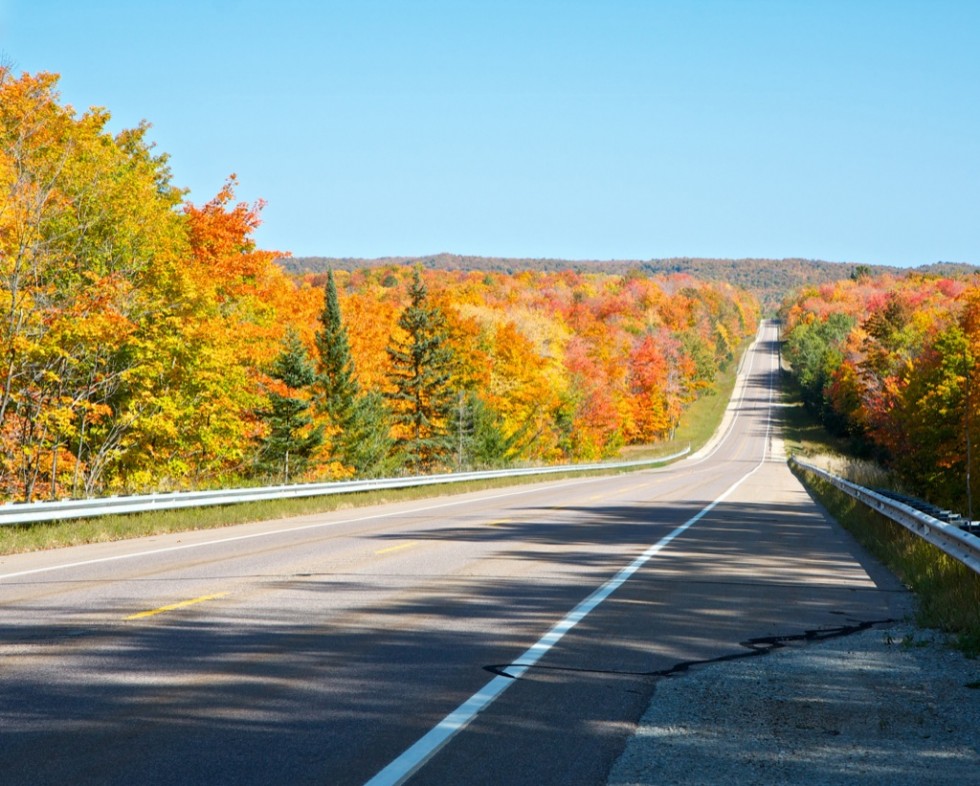
Michigan’s Upper Peninsula is gorgeous in the autumn. This photo combines two of my favorite things: autumn and road trips.
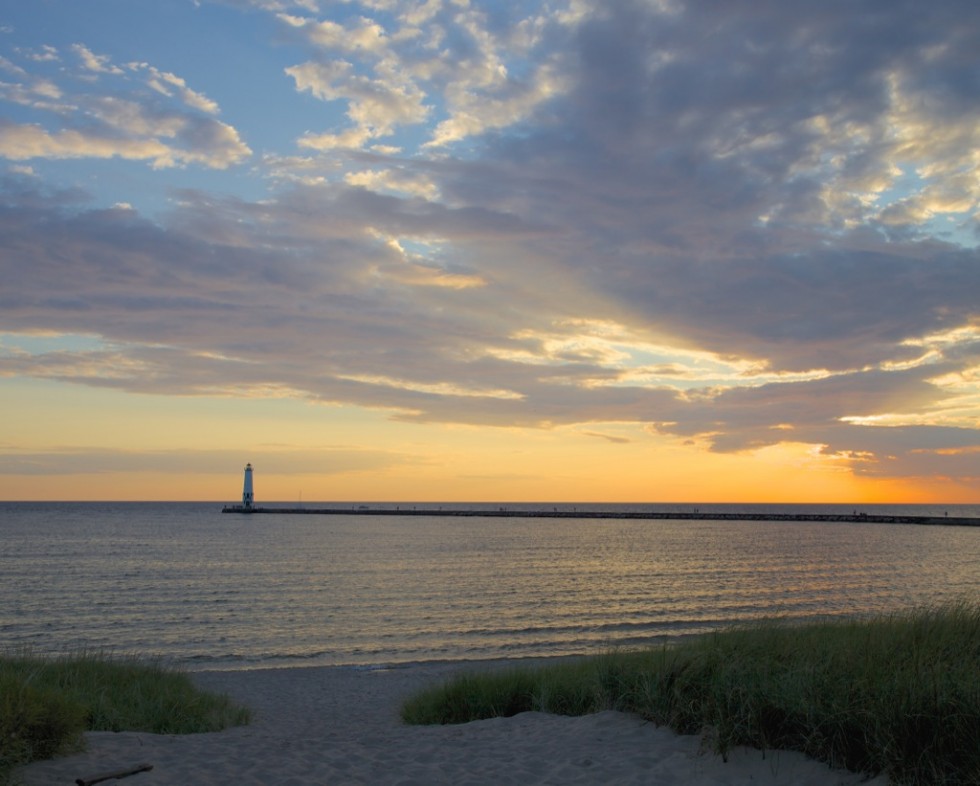
This photo was taken in the small town of Frankfort, MI. The storms earlier in the day left some beautiful clouds in the sky at sunset. In the background you can see the Frankfort lighthouse and jetty.
